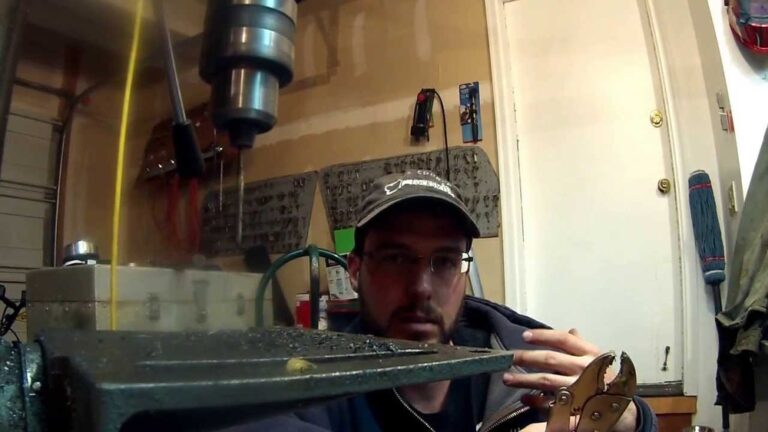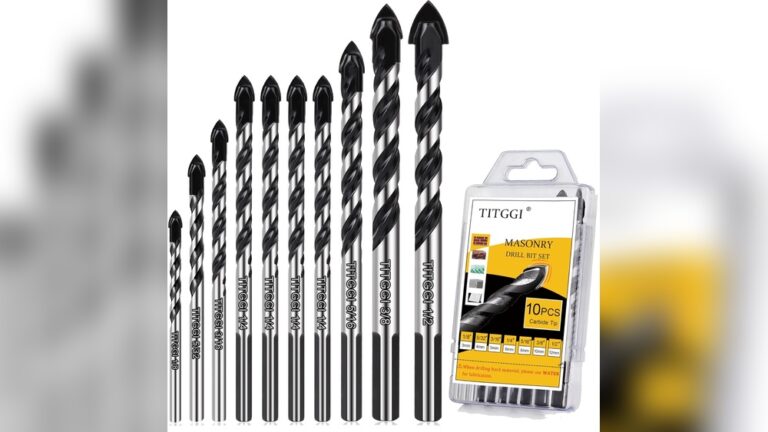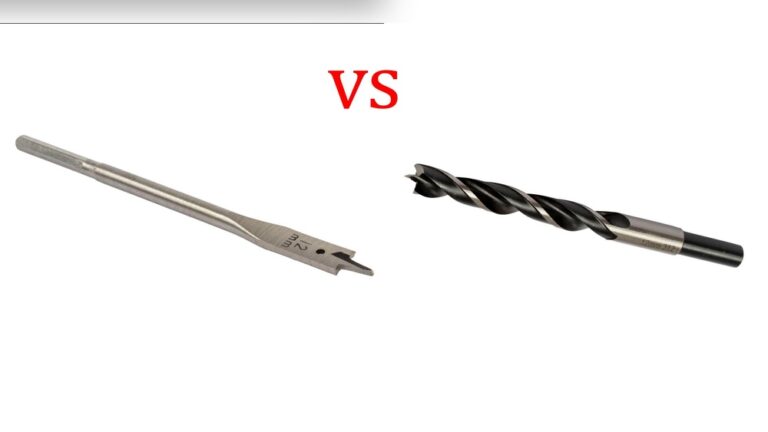
Drilling out a rivet is a vital skill for anyone involved in metalworking, automotive repair, aviation maintenance, or DIY projects. Rivets are widely used to create strong, permanent joins in metal, plastic, and other materials. However, there are times when these fasteners need to be removed, whether for repairs, upgrades, or modifications.
Removing a rivet without damaging the surrounding material requires precision, the right tools, and a methodical approach.
Many people approach rivet removal with hesitation, fearing damage to their workpiece or encountering stubborn, hardened rivets. Understanding the correct drilling techniques and preparation can dramatically reduce risks and ensure a clean, efficient process. This comprehensive guide will walk you through every step, from identifying rivet types and selecting tools, to advanced removal strategies and post-removal finishing.
Whether you’re a professional mechanic or a weekend hobbyist, mastering rivet drilling will enhance your craftsmanship and project outcomes.
Key Takeaways
- Drilling out a rivet requires careful tool selection and preparation to avoid damaging materials.
- Identify the rivet type and material before removal for best results.
- Use step-by-step techniques to ensure clean, safe extraction.
- Advanced methods can address hardened, stuck, or specialty rivets.
- Proper surface finishing is crucial after removal for durability and appearance.
- Safety measures and troubleshooting tips are essential for success.
Credit: www.pbo.co.uk
Understanding Rivets: Types And Materials
Before you can drill out a rivet, it’s crucial to recognize what you’re dealing with. Rivets come in various types and materials, each requiring a tailored approach for removal.
Common Rivet Types
Rivets are typically categorized by their head shape and installation method. The most common types include:
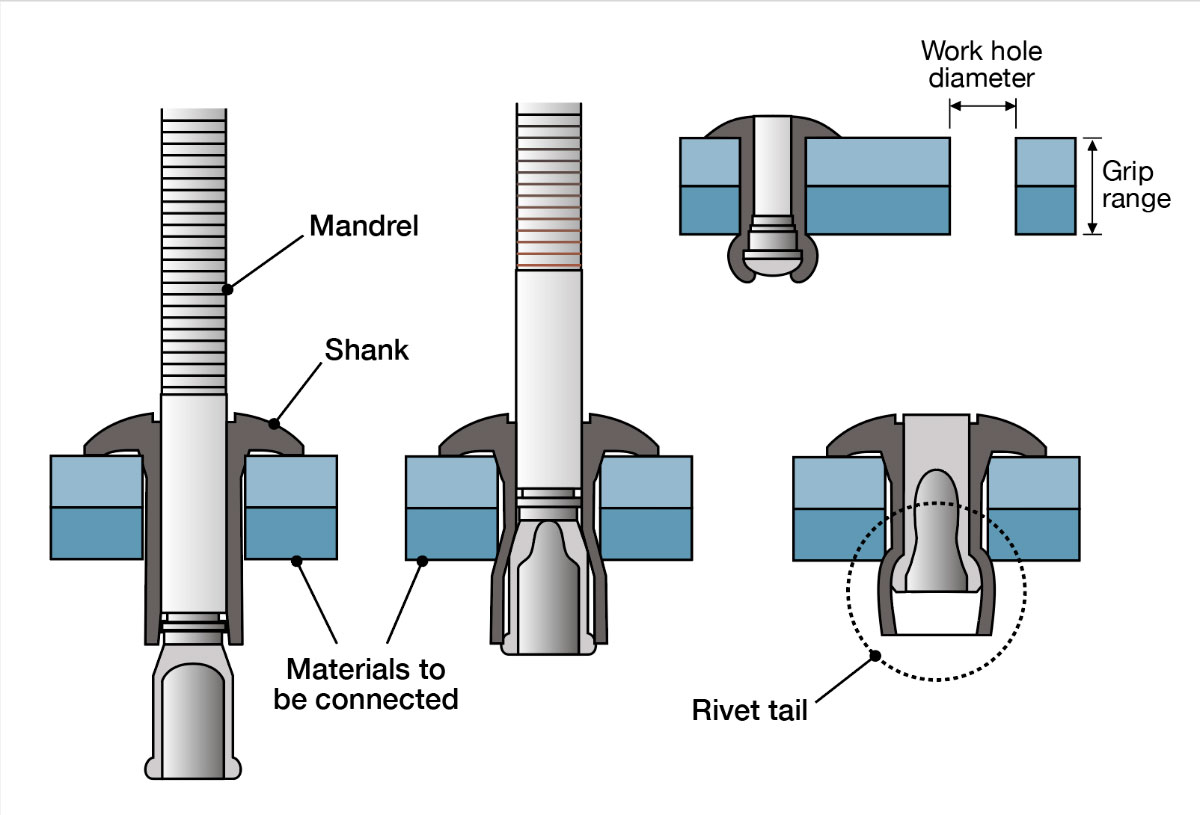
- Pop rivets (blind rivets): Installed from one side, commonly used in lightweight structures.
- Solid rivets: Require access to both sides, often found in aircraft and heavy machinery.
- Semi-tubular rivets: Feature a partial hollow shaft for easier deformation.
- Drive rivets: Driven into a pre-drilled hole, used for decorative or light-duty fastening.
- Flush (countersunk) rivets: Designed to sit flush with the material surface.
Understanding the rivet type determines the drill bit size and removal strategy.
Material Considerations
Rivets are manufactured from a range of materials:
- Aluminum: Lightweight and easy to drill.
- Steel: Durable but requires tougher drill bits.
- Stainless steel: Corrosion-resistant but very hard.
- Copper and brass: Softer, used in electrical and decorative applications.
The material affects drilling speed, bit wear, and the likelihood of heat buildup.
Identifying Rivets In Your Project
In my experience, examining the rivet head shape, size, and installation context helps quickly identify the type. When working on automotive panels, for example, you’ll often find pop rivets. Aircraft maintenance typically involves solid or flush rivets, which require more precision.
Pro Tip: Use a caliper to measure the rivet head and shaft diameter, ensuring you select the correct drill bit for removal.

Credit: www.youtube.com
Preparing For Rivet Removal
Preparation is critical for a successful, damage-free rivet removal. Skipping steps here can lead to tool failure or material damage.
Essential Tools And Equipment
Gather the following tools before starting:
- Drill (corded or cordless): Variable speed preferred for better control.
- Drill bits: High-speed steel (HSS) or cobalt bits, size matched to rivet diameter.
- Center punch: For accurate drilling.
- Hammer: To set the punch.
- Safety glasses and gloves: Protection from metal shards.
- Shop vacuum or brush: To clear metal shavings.
- Lubricant: Such as cutting oil, especially for steel or stainless rivets.
- Pliers or pin punch: For extracting the rivet stem after drilling.
Workspace Preparation
- Clear the area of obstructions.
- Secure the workpiece using clamps or a vice to prevent movement.
- Ensure adequate lighting to see the rivet clearly.
- Lay down a drop cloth to collect metal debris for easy cleanup.
Safety Measures
- Always wear eye protection to guard against flying metal chips.
- Use gloves to prevent cuts and burns.
- Avoid loose clothing or jewelry that could get caught in the drill.
- Have a first aid kit nearby for minor injuries.
Warning: Drilling metal can create sharp edges and hot debris. Never touch freshly drilled rivets or shavings with bare hands.
Credit: www.kitplanes.com
Step-by-step Guide: How To Drill Out A Rivet
A methodical approach ensures clean removal, minimal damage, and efficient workflow.
Step 1: Assess And Mark The Rivet
- Inspect the rivet head for deformation or damage.
- Use a center punch to mark the exact center of the rivet. This prevents the drill bit from wandering.
Example: In automotive panel work, an off-center punch can lead to an enlarged hole, making re-riveting difficult.
Step 2: Select The Correct Drill Bit
- Match the drill bit to the diameter of the rivet shaft, not the head.
- For most pop rivets, a 1/8″ to 3/16″ HSS bit is suitable.
- For steel or stainless steel rivets, use a cobalt or titanium-coated bit.
| Rivet Size | Recommended Drill Bit | Material Compatibility |
|---|---|---|
| 1/8″ (3.2mm) | 1/8″ HSS/Cobalt | Aluminum, Steel |
| 3/16″ (4.8mm) | 3/16″ HSS/Cobalt | Aluminum, Steel, Stainless |
| 1/4″ (6.4mm) | 1/4″ Cobalt | Steel, Stainless Steel |
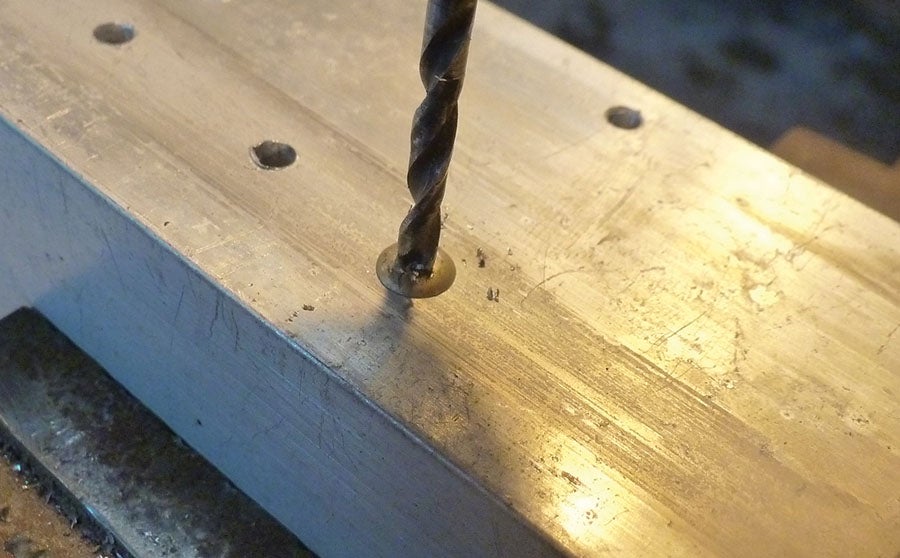
Step 3: Drill Through The Rivet Head
- Position the drill bit in the center-punched mark.
- Apply steady, moderate pressure, let the drill do the work.
- Drill just deep enough to remove the head; avoid drilling through the material.
- If the head spins, stop and reset with the punch.
Step 4: Remove The Rivet Head
- Once the head is separated, use pliers or a flathead screwdriver to pry off the head.
- For stubborn heads, gently tap with a hammer and punch.
Step 5: Extract The Rivet Shaft
- Insert a punch into the remaining shaft and tap with a hammer to push the rivet through.
- For blind rivets, the mandrel may fall out with the shaft.
- Use a shop vacuum or brush to clear metal shavings.
Example: When removing solid rivets from an aircraft wing, precise extraction preserves the underlying material for safe re-riveting.
Step 6: Inspect And Finish The Hole
- Examine the hole for burrs or distortion.
- Use a deburring tool or file to smooth rough edges.
- If the hole is enlarged, you may need a larger replacement rivet or a backing washer.
Pro Tip: Apply a rust inhibitor to steel surfaces before installing a new rivet.
Advanced Techniques For Difficult Rivets
Some rivets present extra challenges due to material, age, or installation method.
Dealing With Hardened Or Stainless Steel Rivets
- Use cobalt or carbide-tipped drill bits for extra hardness.
- Apply cutting oil to reduce heat and bit wear.
- Drill at a slower speed to maintain control and minimize overheating.
Removing Spinning Or Free-spinning Rivets
- If the shaft spins with the drill, hold the back with locking pliers.
- For blind installations, wedge a thin shim under the head to create resistance.
- In extreme cases, notch the rivet head with a Dremel tool for better drill grip.
Handling Painted Or Corroded Rivets
- Clean away paint, rust, or debris before drilling.
- Use a wire brush or scraper for best results.
- For deeply corroded rivets, drill a pilot hole first, then step up to the full diameter.
Specialty Rivet Removal Tools
Some situations call for dedicated rivet removal tools:
- Rivet removal bits: Specially designed for common aircraft rivet sizes.
- Spot weld drills: Useful for flush rivets or when preserving underlying material is critical.
- Power rivet removers: Pneumatic tools for high-volume or industrial applications.
| Tool Type | Best For | Advantages | Disadvantages |
|---|---|---|---|
| Standard Drill + HSS Bit | General Pop/Solid Rivets | Affordable, widely available | May struggle with hard materials |
| Cobalt Bit | Stainless/Steel Rivets | Handles hard metals | Higher cost, more brittle |
| Rivet Removal Bit | Aircraft/Precision Work | Exact fit, minimal material loss | Special order, expensive |
| Pneumatic Remover | Industrial/High Volume | Fast, efficient | Requires compressor, costly |
Example: In aircraft maintenance, a dedicated rivet removal bit preserves the integrity of the aluminum skin, minimizing costly repairs.
Case Studies: Real-world Rivet Removal Scenarios
Examining real-world applications brings theory into practice, highlighting common challenges and solutions.
Case Study 1: Automotive Restoration
A classic car enthusiast needed to replace a rusted fender panel, which was held by a series of steel pop rivets. Using a center punch and 1/8″ cobalt bit, the rivet heads were drilled cleanly. However, several rivets spun in place. Locking pliers on the rear stem provided enough resistance to complete removal. The holes were deburred, and new panels were installed with fresh rivets, restoring the car’s appearance and structural integrity.
Case Study 2: Aircraft Maintenance
During a routine inspection, a technician discovered cracks near a flush (countersunk) rivet on an aluminum wing panel. Precision was critical. The technician used a dedicated rivet removal bit and carefully drilled just deep enough to break the head, avoiding penetration of the thin skin. After removal, the hole was measured for ovality and slightly upsized to the next standard rivet diameter, preserving the wing’s strength and safety.
Case Study 3: Home Diy Metalwork
A homeowner tackled a garden gate repair, encountering aluminum blind rivets. After center punching, a standard HSS bit was used at low speed. The rivet heads popped off cleanly, and the shafts were tapped out with a punch. Minimal surface damage meant the gate could be reassembled with new rivets in the original holes.
Pro Tip: Document the original rivet type and placement with photos before removal. This simplifies reassembly, especially in complex or multi-rivet structures.
Troubleshooting And Mistake Prevention
Even with the best preparation, issues can arise during rivet drilling. Knowing how to address them minimizes frustration and material loss.
Common Problems And Solutions
- Drill bit slips off rivet: Re-punch the center or use a starter drill.
- Hole enlarges during drilling: Use a smaller pilot bit first; drill slowly and steadily.
- Rivet spins with bit: Secure the back with pliers, or notch the head for grip.
- Broken drill bit in rivet: Use a screw extractor to remove the broken bit, or carefully drill around it with a slightly larger bit.
Preventing Material Damage
- Always use the smallest necessary drill bit to start.
- Keep the drill perpendicular to the surface.
- Don’t force the bit, let speed and sharpness do the work.
- Deburr promptly to prevent surface scratches.
Cleaning Up After Removal
- Collect all shavings and debris with a vacuum.
- Wipe the area with a clean cloth.
- Check for hidden sharp edges.
Warning: Metal shavings can cause electrical shorts if left in automotive or electronic assemblies.
Post-removal Surface Finishing
Rivet removal often leaves a hole or surface irregularity that must be addressed before re-riveting or finishing the project.
Deburring And Smoothing
- Use a deburring tool or fine file to smooth the hole edges.
- For painted surfaces, feather the paint edge with 400-grit sandpaper.
- Wipe with a solvent to remove dust and oil.
Filling And Repairing Enlarged Holes
- For minor enlargements, use a larger replacement rivet or an oversized washer.
- For structural repairs, fill with a metal-compatible epoxy and re-drill after curing.
- In high-stress applications (e.g., aircraft or load-bearing structures), consult a professional for approved repair procedures.
Surface Protection
- Apply primer or rust inhibitor to bare steel or iron surfaces.
- For aluminum, use an etch primer before repainting.
- Replace any removed sealant or gasket material.
Example: After drilling out corroded steel rivets on a boat hull, a marine-grade sealant was applied before installing new rivets to prevent future corrosion.
Comparing Rivet Removal Methods
Drilling is the most common method, but alternative approaches may be suitable in certain situations.
| Method | Best For | Speed | Surface Preservation | Skill Level |
|---|---|---|---|---|
| Drilling | Most rivet types/materials | Moderate | High (with care) | Beginner-Advanced |
| Grinding | Large/Exposed heads | Fast | Low (risk of damage) | Intermediate |
| Chiseling | Soft metals, accessibility | Moderate | Low (prone to distortion) | Intermediate |
| Specialty Tools | Aircraft/Precision | Fast | Very High | Advanced |
Pro Tip: Always choose the method that preserves the workpiece and matches your skill level. Drilling remains the gold standard for most DIY and professional applications.
Environmental And Safety Considerations
Drilling out rivets generates waste and poses safety risks. Responsible practices protect both the operator and the environment.
Safe Disposal Of Metal Shavings
- Collect all shavings and dispose of them in accordance with local recycling guidelines.
- Avoid leaving metal fragments in workspaces where they can cause injury or equipment damage.
Noise And Air Quality
- Drilling can generate significant noise, wear hearing protection in confined spaces.
- Use a shop vacuum with HEPA filter to control airborne dust, especially when working with painted or coated materials.
Chemical Use
- Cutting oils and lubricants should be used sparingly and wiped up promptly.
- Store chemicals safely and away from children or pets.
Example: In facilities following ISO 14001 environmental standards, all metal waste from rivet removal is segregated for recycling, minimizing landfill impact. For more on environmental standards, visit ISO.org.
Best Practices For Re-riveting After Removal
Once the old rivet is out and the surface is prepared, correct re-riveting ensures long-term durability and safety.
Selecting Replacement Rivets
- Match the material and size to the original or as specified by manufacturer guidelines.
- Consider corrosion resistance for outdoor or marine applications.
Proper Rivet Installation
- Use the correct rivet tool (manual or pneumatic) for even compression.
- Ensure the rivet fills the hole snugly, loose rivets can lead to future failure.
- For critical applications (e.g., aviation), follow manufacturer torque and installation specifications.
Quality Control
- Inspect each new rivet for flushness and deformation.
- Test the joint for stability before returning the assembly to service.
Pro Tip: Keep a record of all removed and replaced rivets in maintenance logs, especially for regulated industries.
Frequently Asked Questions
What Can I Do If A Drill Bit Breaks Off In The Rivet?
If a drill bit breaks in the rivet, use a screw extractor to carefully remove the broken bit. Apply penetrating oil to reduce friction. If extraction fails, step up to a slightly larger drill bit and slowly drill around the broken piece, but be aware this may enlarge the hole.
Is It Possible To Remove A Rivet Without A Drill?
Yes, but drilling is the safest for most applications. Alternatives include grinding the head with a rotary tool, chiseling for soft metals, or using specialty rivet removal tools. These methods pose a higher risk of damaging the surrounding material, so use them only when drilling is impractical.
How Do I Avoid Enlarging The Hole During Rivet Removal?
To avoid enlarging holes, always center punch the rivet, use the correct drill bit size, and drill slowly. A pilot hole can also improve accuracy. Maintain the drill perpendicular to the surface and stop immediately once the head separates.
Can I Reuse The Hole After Drilling Out A Rivet?
In most cases, yes. Reusing the hole is common, provided it’s not enlarged or damaged. Clean and deburr the hole before installing a new, same-size or slightly larger rivet. For critical applications, check for ovality and consult with a professional if in doubt.
Where Can I Find More Technical Details About Rivets And Removal?
For comprehensive information on rivet types, installation, and removal, consult manufacturer technical manuals or reputable sources like Wikipedia. For aerospace or industrial standards, refer to industry-specific documentation and always follow safety guidelines.
Drilling out rivets is a skill that pays dividends in quality workmanship and project flexibility. With the right tools, preparation, and approach, you can remove even the most stubborn rivets safely and efficiently. Whether restoring a classic car, maintaining aircraft, or tackling a home repair, mastering these techniques ensures your work stands up to scrutiny and lasts for years to come.