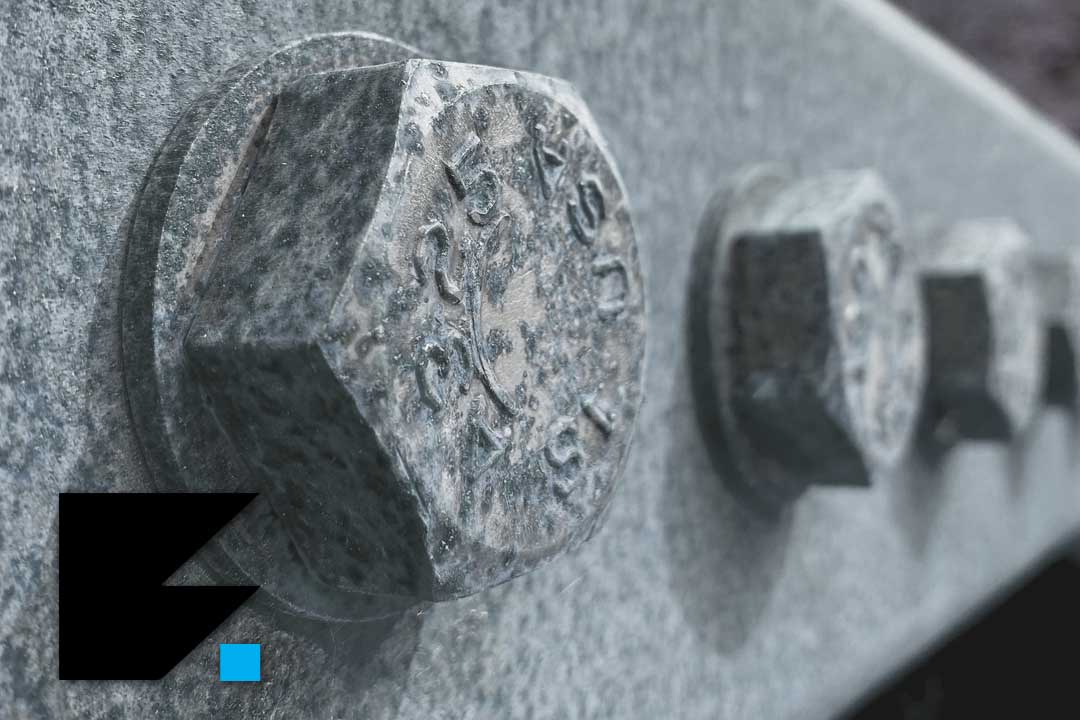
Stripped bolts are a universal headache for mechanics, DIY enthusiasts, and even seasoned professionals. Whether you’re working on a car engine, household appliance, or heavy machinery, encountering a bolt whose head is rounded, worn, or fused in place can halt your progress and test your patience.
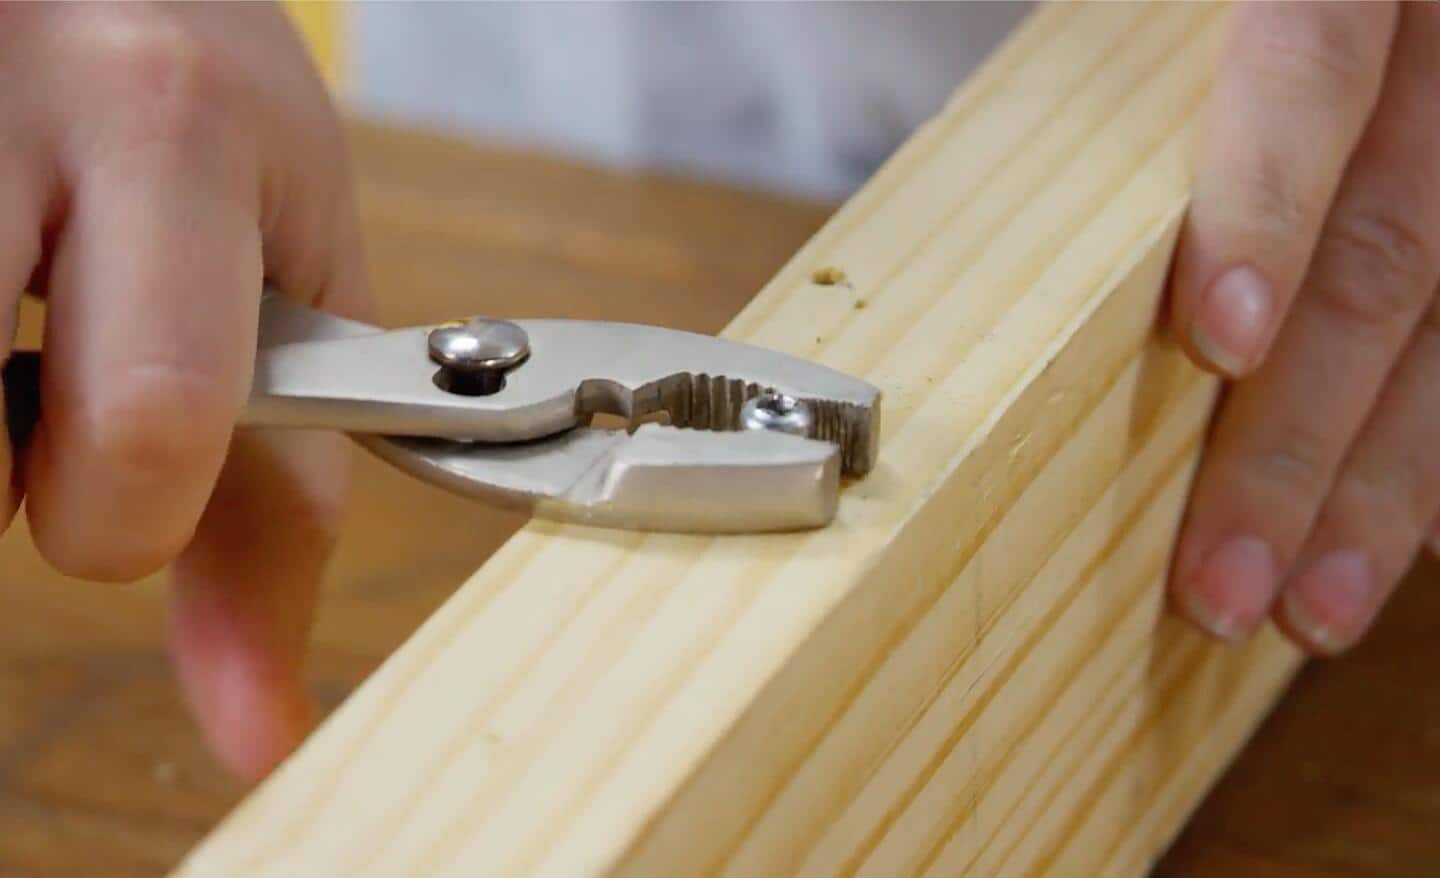
The challenge intensifies when every conventional method, pliers, extractors, or lubricants, fails, leaving the bolt stubbornly embedded. At this point, knowing how to drill out a stripped bolt becomes not just useful but essential.
Drilling out a stripped bolt, however, is a precise task. It requires the right tools, a methodical approach, and a clear understanding of the risks involved. Done incorrectly, it can damage the surrounding material, escalate repair costs, or even injure the operator.
This article delivers a comprehensive, step-by-step guide to safely and effectively drill out a stripped bolt, ensuring you’re prepared for this critical task. Drawing on professional insights, real-world examples, and up-to-date best practices, you’ll learn everything from tool selection to post-removal repair.
Key Takeaways
- Drilling out a stripped bolt should be a last resort after safer extraction methods have failed.
- The right tools and safety gear are crucial for effective and safe bolt drilling.
- Preparation, including cleaning, centering, and securing the workpiece, directly impacts success.
- Following a step-by-step drilling process minimizes damage and increases the chance of full bolt removal.
- Understanding post-removal repair ensures long-term structural integrity and safety.
Credit: fixabolt.co.uk
Understanding Stripped Bolts: Causes And Assessment
A stripped bolt is more than just an inconvenience, it’s often a symptom of broader issues in technique, materials, or maintenance. Recognizing the causes and accurately assessing the situation is the first step toward a successful fix.
What Causes A Bolt To Become Stripped?
Several factors contribute to a bolt becoming stripped. The most common include:
- Over-tightening: Applying excessive torque can round off the bolt head or snap the threads.
- Incorrect tool size: Using a wrench or socket that doesn’t fit snugly increases slippage and wear.
- Corrosion: Rust and oxidation can weaken the bolt and make it more prone to stripping.
- Low-quality fasteners: Inferior materials are softer and wear down faster under stress.
These causes often overlap, especially in older machinery or vehicles exposed to moisture.
Types Of Stripped Bolts
Bolts can be stripped in various ways, each requiring a unique approach:
- Rounded head: The corners of the bolt head are worn, making standard tools ineffective.
- Stripped threads: The threads inside the bolt or the hole are damaged, preventing proper engagement.
- Sheared bolt: The bolt is broken flush or below the surface, complicating removal.
How To Assess The Situation
Before reaching for the drill, take a moment to evaluate:
- Location and accessibility: Is the bolt in a confined space or easily reached?
- Material around the bolt: Are you working with metal, plastic, or another substrate?
- Bolt size and type: Larger bolts may require heavier equipment and more care.
This assessment informs your tool selection and strategy.
Example: Automotive Stripped Bolt Assessment
When I worked on a 15-year-old sedan’s exhaust manifold, I found that the bolt heads were so rusted they rounded off instantly. By assessing the rust level and limited access, I realized a drill was the only viable option, but only after confirming that pliers and extractors couldn’t grip the bolt.
Essential Tools And Safety Equipment
Having the right equipment is critical to both your safety and the success of the operation. This section outlines the tools and gear you’ll need, with tips on selection and usage.
Core Tools For Drilling Out Bolts
You’ll need the following:
- Drill (corded or cordless): Variable speed preferred for better control.
- High-speed steel (HSS) drill bits: Choose cobalt or titanium-coated bits for hardened bolts.
- Center punch: To mark the drilling spot and prevent bit wandering.
- Left-handed drill bits: These can sometimes extract the bolt while drilling.
- Bolt extractor kit: To grip and remove remaining fragments.
- Lubricant/penetrating oil: Eases drilling and reduces heat buildup.
Safety Gear
Never underestimate the importance of personal protection. Always wear:
- Safety glasses or goggles: To shield your eyes from metal shavings.
- Work gloves: To protect your hands from sharp edges and heat.
- Ear protection: Drilling metal can be loud, especially in confined spaces.
- Dust mask: If working with older, painted surfaces that may contain lead or other hazardous materials.
Comparison Table: Drill Bit Types For Stripped Bolts
| Drill Bit Type | Best For | Durability | Cost |
|---|---|---|---|
| High-Speed Steel (HSS) | Soft to medium bolts | Moderate | Low |
| Cobalt Steel | Hardened/Grade 8 bolts | High | Medium |
| Titanium-Coated | General use, longevity | High | Medium |
| Left-Handed | Potential self-extraction | Moderate | Medium |
Pro Tip:
Always start with a sharp, high-quality bit appropriate for your bolt’s material. Dull or incorrect bits greatly increase the risk of damage and injury.
Credit: www.homedepot.com
Preparation: Setting The Stage For Success
Effective preparation is a key differentiator between a successful and a failed bolt removal. This phase involves cleaning, marking, and securing your work area.
Cleaning The Area
Start by cleaning the bolt and surrounding area:
- Remove any rust, dirt, or debris using a wire brush.
- Apply penetrating oil (such as WD-40) and let it soak for at least 10, 15 minutes. This reduces friction and can make the drilling process smoother.
- Wipe away excess oil before drilling to avoid slippage.
Center Punching
A center punch creates an indentation that keeps the drill bit from wandering. To do this:
- Place the punch at the exact center of the bolt head.
- Tap it with a hammer to create a small dimple.
This tiny detail significantly improves drilling accuracy.
Securing The Workpiece
Movement during drilling can result in misalignment or injury. Secure the item you’re working on:
- Use a bench vise for small parts.
- For larger assemblies, ensure they are stable and immobile.
Marking The Drill Bit Depth
To avoid drilling too deep:
- Measure the bolt’s length and mark your drill bit with tape to serve as a depth indicator.
- This prevents accidental damage to the threads or underlying material.
Example: Preparation In Confined Spaces
When attempting to remove a stripped bolt from a motorcycle engine, I found that limited space made clamping impossible. Instead, I wedged wood blocks around the engine to limit movement, ensuring safe and accurate drilling.

Credit: www.youtube.com
Step-by-step Guide: How To Drill Out A Stripped Bolt
Drilling out a stripped bolt is a precise, multi-step process. Here’s a detailed breakdown:
Step 1: Select The Right Drill Bit
- Start with a small pilot bit (typically 1/8″ or 3mm).
- If the bolt is hardened, use a cobalt or left-handed bit.
- Gradually move up to larger bits, but never exceed the bolt’s core diameter.
Step 2: Drill A Pilot Hole
- Align the drill bit with the center-punched dimple.
- Drill slowly and steadily; avoid high speed to reduce heat.
- Use lubricant periodically to prevent overheating.
Step 3: Enlarge The Hole
- Switch to a bit one size larger.
- Repeat the drilling process, keeping the drill perpendicular to the surface.
- Continue until you reach the appropriate diameter for a bolt extractor or until the bolt’s core is compromised.
Step 4: Use A Bolt Extractor (optional)
- Insert a screw extractor (such as an EZ-Out) into the drilled hole.
- Turn counterclockwise with a wrench. Many bolts will begin to unscrew at this stage.
- If the extractor fails, proceed to drill out the remainder of the bolt.
Step 5: Remove Remaining Fragments
- Use a pick, needle-nose pliers, or compressed air to clear out any loose shavings.
- If necessary, drill slightly wider, but stop before damaging the internal threads.
Step 6: Clean And Inspect The Hole
- Remove all metal debris.
- Inspect the hole for damage to the threads or surrounding material.
- Apply rust inhibitor if desired, especially in automotive or outdoor environments.
Example: Case Study, Industrial Equipment Repair
A factory maintenance team faced a sheared Grade 8 bolt embedded in a steel flange. After center punching and careful drilling with cobalt bits, they used a spiral extractor to remove the core without damaging the expensive flange. The entire process took under an hour, compared to several hours for full disassembly.
Common Mistakes And How To Avoid Them
Even experienced technicians can make errors when drilling out bolts. Recognizing and avoiding these pitfalls can save time, money, and frustration.
Rushing The Process
- Skipping preparation steps or drilling too quickly is a leading cause of drill bit breakage and collateral damage.
- Always proceed methodically, double-checking alignment at each stage.
Using The Wrong Tools
- Low-quality or dull bits can seize, shatter, or wander off center, worsening the problem.
- Match the bit type to the bolt’s hardness and material.
Overdrilling
- Drilling too deep or wide can irreparably damage threads or surrounding material, requiring costly repairs.
- Mark drill depth and stop periodically to check progress.
Misalignment
- Failing to drill straight can result in an angled hole, making extraction or repair nearly impossible.
- Use a drill guide if available, or steady your hands carefully.
Example: Avoiding Thread Damage
A colleague once overdrilled a bolt in an aluminum engine block, damaging the threads beyond repair. The required installation of a helicoil insert added time and expense that could have been avoided with more careful measurement and frequent checks.
Repair And Restoration After Bolt Removal
Once the stripped bolt is removed, attention must turn to restoring the area to its original or better condition. Failing to do so can compromise the integrity of the assembly.
Cleaning And Deburring
- Use a thread chaser or tap to clean internal threads.
- Remove any burrs or sharp edges with a small file or deburring tool.
- Ensure no metal shavings remain, especially in engines or hydraulic systems.
Assessing Thread Condition
- Inspect the threads with a thread gauge or visually for damage.
- If threads are only lightly damaged, a thread restorer may suffice.
Thread Repair Options
If the threads are stripped or excessively worn, consider:
- Helicoil inserts: Stainless steel coils that restore thread strength. Common for automotive and aerospace applications.
- Threaded inserts (e.g., Keenserts): More robust, permanent solutions for high-stress environments.
- Oversize tapping: Drilling and tapping for a larger fastener, used when restoration is impractical.
Comparison Table: Thread Repair Methods
| Repair Method | Strength | Typical Cost | Best For |
|---|---|---|---|
| Thread Chaser | Low | Low | Minor damage |
| Helicoil Insert | Medium | Medium | Moderate damage |
| Keensert | High | High | High-stress parts |
| Oversize Tapping | Very High | Medium-High | Severe damage |
Finishing Touches
- Apply anti-seize compound to new fasteners to prevent future stripping.
- Torque new bolts to the manufacturer’s specifications.
- Test the assembly under load before returning to regular use.
Example: Thread Repair In Automotive Applications
A stripped caliper mounting bolt on a brake system required a helicoil insert. After drilling and tapping, the insert restored full thread strength, allowing safe reassembly and operation.
Advanced Tips And Alternatives To Drilling
While drilling is effective, there are alternative techniques and advanced tips that can sometimes eliminate the need to drill, or at least make the process safer and easier.
Alternative Extraction Methods
Before you drill, consider these options:
- Hammer and chisel: Sometimes tapping the bolt counterclockwise with a chisel can loosen it.
- Weld a nut: Welding a new nut onto the stripped head can provide a fresh grip for a wrench.
- Freeze spray: Rapidly cooling the bolt can shrink it slightly, breaking the rust bond.
Heat Application
- Using a propane torch to heat the bolt can expand the metal, breaking corrosion bonds.
- Caution: Only use heat in safe, non-flammable environments.
Chemical Penetrants
- Specialized penetrants such as PB Blaster or Liquid Wrench can outperform standard lubricants in rusted applications.
Using Left-handed Drill Bits
- These bits drill in the reverse direction. If the bolt isn’t too seized, the bit may catch and unscrew the bolt as you drill.
Example: Welding A Nut For Extraction
A technician faced with a rounded exhaust manifold bolt welded a new nut onto the bolt shank. The heat from welding helped break the rust, and the new nut allowed for easy removal with a socket.
Pro Tip:
If you lack confidence or the right tools, consult a professional. Excessive force or incorrect technique can escalate a simple fix into a major repair.
Prevention: How To Avoid Stripped Bolts In The Future
Prevention saves time, money, and frustration. By adopting a few best practices, you can reduce the risk of stripped bolts significantly.
Use Proper Tools And Techniques
- Always match the wrench or socket size to the fastener.
- Apply even, controlled torque, avoid sudden jerks or impacts.
- Use torque wrenches for critical applications.
Lubricate Threads
- Apply anti-seize or thread lubricant before installation, especially on bolts exposed to moisture or heat.
Select High-quality Fasteners
- Invest in grade-rated bolts for automotive or industrial applications.
- Avoid generic or no-name fasteners in high-stress environments.
Inspect And Maintain Fasteners
- Regularly check bolts for signs of wear, rust, or damage.
- Replace questionable bolts during routine maintenance, not just during repairs.
Example: Preventative Maintenance In Marine Equipment
In marine environments, corrosion is a constant threat. Using stainless steel bolts with anti-seize compound on outboard motors has prevented countless extraction headaches for boat owners.
Frequently Asked Questions
How Can I Tell If A Bolt Is Too Damaged To Drill Out Safely?
If the bolt is fused to the surrounding material (for example, welded by heat or chemical corrosion), or if it’s located near delicate components that could be destroyed by drilling, it may be best to seek professional help. Excessive rust or deformation can also indicate that standard drilling techniques may not be safe or effective.
What Should I Do If The Drill Bit Breaks Off Inside The Bolt?
A broken drill bit complicates removal significantly because hardened steel bits are difficult to drill through. Specialized extractor kits for broken bits are available, but if access is limited or the bit is deeply embedded, professional EDM (electrical discharge machining) services may be required.
Are There Risks To Drilling Out Bolts In Aluminum Or Soft Metal Parts?
Yes. Aluminum is softer and more prone to thread damage or distortion from heat. Use sharp bits, low speeds, and avoid excessive pressure. If possible, use lubricants specifically designed for aluminum to minimize friction and heat buildup.
How Do I Choose The Right Size Bolt Extractor?
Select an extractor slightly smaller than the bolt’s core diameter. Most extractor sets include a size chart for reference. Using an extractor that’s too large can damage the threads, while one that’s too small may not grip effectively.
Can I Use A Power Drill For All Bolt Removal Scenarios?
While a power drill is effective for most cases, in tight or delicate environments a hand drill offers better control and reduces the risk of collateral damage. Always assess the situation and choose the tool that offers the best combination of control and efficiency.
Removing a stripped bolt is a true test of patience, precision, and technical skill. By following the detailed process outlined here, and using the right tools and techniques, you can resolve even the most stubborn fastener issues with confidence. Whether you’re a DIYer or a professional, each successful extraction adds to your experience and resourcefulness. Remember, prevention is always preferable; but when faced with a stripped bolt, preparation, care, and methodical action are your best allies. For further reading on bolt extraction techniques, visit Wikipedia or consult a professional resource such as Popular Mechanics for specialized cases.