Drilling a hole in tile can be a nerve-wracking task even for experienced DIYers. The risk of cracking or shattering an expensive tile with just one slip of the drill is real, and mistakes can be costly both in time and money.
Yet, with the right tools, careful technique, and a bit of patience, anyone can achieve a clean, precise hole without damaging the tile surface. Whether you’re hanging a towel rack, installing plumbing, or running wiring, understanding the nuances of this process is essential for a professional-looking finish.
Tile comes in many forms, ceramic, porcelain, natural stone, and each type presents its own challenges. Standard drill bits simply won’t cut it (literally or figuratively) when faced with the hardness and brittleness of most tiles. Specialized tools, safety precautions, and a clear step-by-step approach are crucial.
This guide distills years of hands-on experience and industry best practices to walk you through everything you need to know to drill a hole in tile confidently and safely.
Key Takeaways
- Proper tools and preparation are critical to avoid cracking or chipping tile.
- Tile material (ceramic, porcelain, stone) determines the best drill bit and technique.
- Step-by-step drilling with the right pressure and speed ensures clean, precise holes.
- Safety measures protect both you and your tile investment.
- Common mistakes can be avoided with expert tips and troubleshooting advice.
- Real-world examples show how these techniques succeed in actual home projects.

Credit: www.youtube.com
Understanding Tile Types And Their Drilling Challenges
Not all tiles are created equal. The composition, hardness, and thickness of tile directly impact how you should approach drilling. Knowing your tile type is the first step towards success.
Ceramic Tile
Ceramic tile is the most common type found in homes, especially for wall applications. It’s made from clay, fired at lower temperatures than porcelain, and often coated with a glaze. Ceramic is relatively soft, making it easier to drill than other types, but the glaze can still chip if the wrong bit or technique is used.
Porcelain Tile
Porcelain tile is denser, harder, and less porous than ceramic. Created by firing finer clays at higher temperatures, porcelain’s toughness means it resists moisture and wear, perfect for floors and wet areas. However, this same durability makes drilling more challenging, often requiring diamond-tipped or carbide-tipped bits.
Natural Stone Tile
Natural stone tiles, such as marble, granite, or slate, offer unique beauty and durability. Each stone has its quirks: marble is softer but prone to scratching; granite is extremely hard; slate can be brittle. Drilling stone demands a delicate balance of the right drill bit, steady pressure, and often water as a lubricant to prevent overheating and cracking.
Glass Tile
Glass tile is increasingly popular for backsplashes and decorative borders. Its brittleness and slipperiness require even more caution. Glass-specific drill bits and slow drilling are essential.
| Tile Type | Hardness | Recommended Drill Bit | Common Use |
|---|---|---|---|
| Ceramic | Medium | Carbide-tipped masonry bit | Walls, indoor floors |
| Porcelain | Very Hard | Diamond-tipped hole saw | Floors, showers |
| Natural Stone | Varies (soft to very hard) | Diamond-tipped core bit | High-end floors, kitchens |
| Glass | Hard but brittle | Glass/tile bit (diamond-coated) | Backsplashes, accents |
Pro Tip: Always check with your tile supplier for any manufacturer-specific recommendations before drilling.
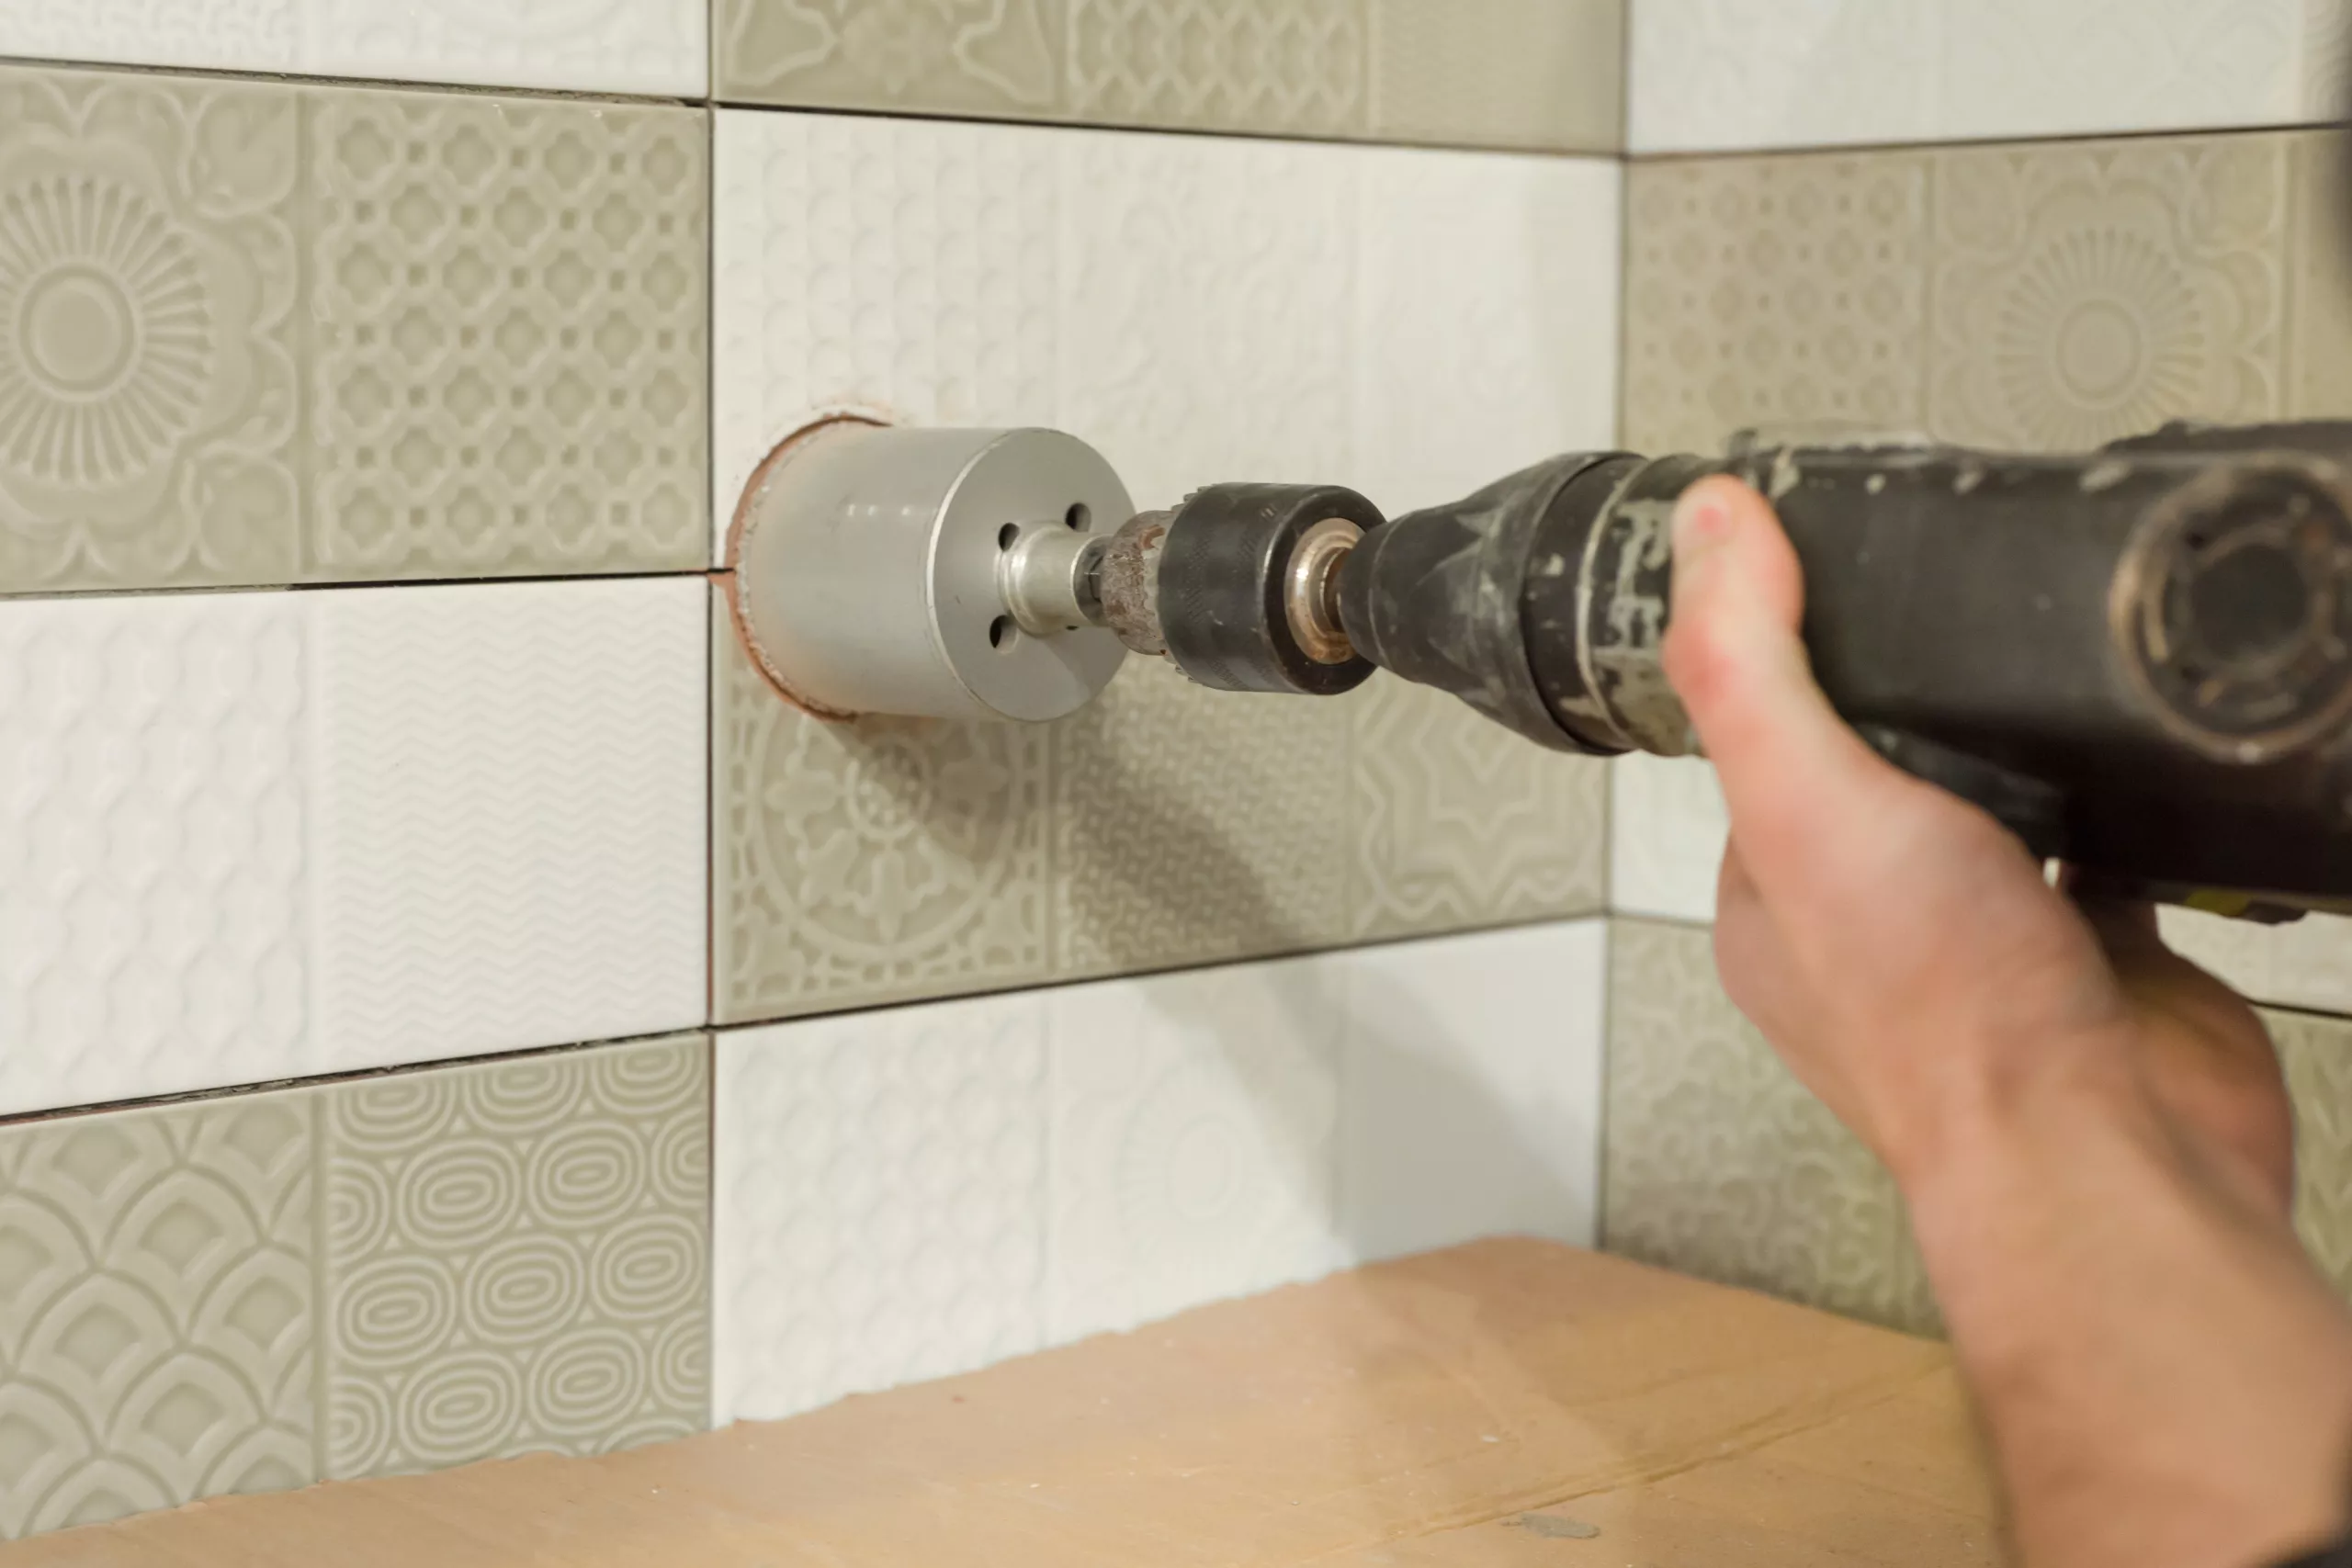
Credit: www.tilewizards.com.au
Essential Tools And Materials For Drilling Tile
Having the right equipment is non-negotiable for safe, clean holes. Here’s what you’ll need, and why each item is important.
Drill Types
- Corded drill: Offers consistent power, ideal for hard materials.
- Cordless drill: More convenient, but may lack torque for thick or hard tiles.
- Variable speed: Essential for controlling the pace and preventing overheating.
Drill Bits
- Carbide-tipped masonry bits: Good for ceramic tile, but wear quickly on harder materials.
- Diamond-tipped hole saws: Best for porcelain, stone, and glass; available in various diameters.
- Glass/tile bits: Designed for glass and glazed ceramic; spear-shaped for precise starts.
Safety Gear
- Safety glasses: Protect eyes from shards.
- Dust mask: Shields lungs from fine particles.
- Gloves: Reduce risk of cuts from sharp tile edges.
Supporting Accessories
- Masking tape or painter’s tape: Prevents bit from slipping and reduces chipping.
- Spray bottle of water: Cools bit and tile, extending tool life.
- Drill guide or template: Keeps the bit in position, especially for beginners.
- Marker or grease pencil: Marks precise drilling locations without smudging.
- Vacuum or brush: Cleans up dust and debris.
Optional (but Helpful) Items
- Level: Ensures hole placement is perfectly aligned.
- Plumber’s putty or clay dam: Contains water around the drilling area for continuous cooling.
- Cordless vacuum: Immediate dust management for indoor work.
Example: When I tested drilling through a thick porcelain floor tile, my corded drill paired with a diamond-tipped hole saw and a steady stream of water provided clean results with no cracks or burn marks.
Step-by-step Process: Drilling A Hole In Tile
Executing each step with care is key to success. Rushing or skipping any stage can result in shattered tile or misaligned holes.
Preparing The Work Area
Start by removing any objects near the drilling site and thoroughly cleaning the tile surface. Dirt or grease can interfere with the drill bit and cause slippage.
- Mark the drill spot with a marker or grease pencil.
- Place a piece of masking tape over the spot to help anchor the bit.
- Mark the location again on top of the tape for precise drilling.
Setting Up The Drill
Fit your drill with the appropriate bit for your tile type. Double-check that it’s secure and straight. Set the drill to a low speed, high RPMs generate too much heat and increase the risk of cracks.
- For larger holes, use a pilot hole with a smaller bit to guide the larger bit or hole saw.
Drilling Technique
- Position the drill at a 90-degree angle to the tile for even pressure.
- Start the drill very slowly to score the glaze and prevent wandering.
- Once the bit begins to bite, increase speed slightly while applying steady, gentle pressure, never force the bit.
- Spray water on the drill site to cool the bit and minimize dust.
- Periodically pull the bit out to clear debris and check progress.
Warning: Applying too much pressure or drilling too fast can overheat the bit and crack the tile.
Finishing The Hole
As you near the back of the tile, reduce pressure even further to avoid chipping the exit side. For through-holes, support the backside with a piece of wood if possible.
- Remove masking tape and wipe the area clean.
- Inspect the hole for any chips; smooth edges with fine sandpaper if necessary.
Cleaning Up
Vacuum or brush away dust and shards. Dispose of any broken tile pieces safely. Store your drill bits dry to prevent rust.

Credit: www.youtube.com
Real-world Examples And Short Case Studies
Learning from actual projects highlights both challenges and solutions.
Example 1: Installing A Grab Bar In A Porcelain Shower
A homeowner wanted to install a safety grab bar in a porcelain-tiled shower. They used a diamond-tipped hole saw and a drill guide to prevent slippage. By spraying water continuously and drilling slowly, they achieved clean holes with no visible cracks, a must for waterproofing and aesthetics.
Example 2: Running Electrical Wire Through A Backsplash
In a kitchen renovation, an electrician needed to run wiring through a glass tile backsplash. Using a glass/tile bit and starting with masking tape, the hole was drilled at a low speed, with water applied frequently. The result was a perfectly round hole, allowing for a snug conduit fit.
Example 3: Diyer Drilling Natural Stone For Outdoor Lighting
For landscape lighting, a DIYer drilled granite tiles outdoors. They constructed a clay dam around the drill site to hold water for cooling. With a corded drill and diamond core bit, and by taking frequent breaks to cool the bit, they completed the job without a single broken tile.
Common Mistakes And How To Avoid Them
Even experienced DIYers can run into trouble if they ignore best practices. Here are pitfalls to watch for:
Using The Wrong Drill Bit
Attempting to drill porcelain or stone with a standard wood or metal bit will quickly ruin both bit and tile. Always use a diamond-tipped or carbide-tipped bit suitable for your tile type.
Skipping Water Cooling
Dry drilling generates heat, which cracks tile and dulls bits. Always use water to cool the drill site, especially for porcelain and stone.
Drilling Too Fast
High speeds increase friction and risk of damage. Use a slow, steady speed for best results.
Neglecting Safety Gear
Tile shards can cause serious eye injuries. Always wear safety glasses and a dust mask.
Failing To Support The Tile
Unsupported tiles can vibrate and crack. For wall tiles, ensure the substrate is solid; for loose tiles, place them on a soft surface.
Not Marking The Hole Precisely
A misaligned hole can ruin the look and function of your project. Use a level and marker to double-check placement before drilling.
Choosing The Right Drill Bit: Detailed Comparison
Selecting the proper drill bit is the foundation of a clean, safe hole. Here’s a detailed side-by-side comparison:
| Drill Bit Type | Best For | Durability | Cost | Average Lifespan* |
|---|---|---|---|---|
| Standard Masonry Bit | Ceramic tile | Low | Low | 5-10 holes |
| Carbide-tipped Bit | Ceramic, some porcelain | Medium | Medium | 10-20 holes |
| Diamond-tipped Hole Saw | Porcelain, stone, glass | High | High | 50+ holes |
| Glass/Tile Bit | Glass, glazed ceramic | Medium | Medium | 15-30 holes |
lifespan Varies By Tile Hardness And Drilling Technique.
For more on drill bit selection, see Wikipedia: Drill Bit.
Advanced Tips For Perfect Holes In Tile
Mastering a few advanced techniques can take your results from good to flawless.
Using A Drill Guide Or Jig
A drill guide ensures the bit stays on target, especially when starting on slippery glazed or glass tile. Simple guides can be purchased, or you can make one by drilling a hole in a scrap piece of wood and taping it in place over your drill spot.
Creating A Clay Dam For Water Cooling
Form a small ring of plumber’s putty or modeling clay around the drill site and fill it with water. This keeps the area cool and flushes away debris during drilling.
Drilling Large Holes
For holes larger than 1/2 inch, start with a small pilot hole to guide the larger hole saw. For very large holes, a diamond core bit is recommended.
Smoothing Rough Edges
After drilling, tile edges may be sharp. Use a fine diamond file or sandpaper to smooth the opening, especially important for glass or stone tiles.
Repairing Minor Chips
If a small chip occurs, a color-matched epoxy or caulk can conceal the damage.
Matching Drill Speed And Pressure To Tile Type
- Ceramic: Moderate speed, light pressure.
- Porcelain/Stone: Low speed, steady pressure.
- Glass: Slowest speed, minimal pressure.
Example: When I drilled a 1-inch hole for a shower valve, using a drill guide and a continuous trickle of water prevented any overheating, resulting in a clean edge that required almost no finishing.
Safety Precautions And Best Practices
Tile drilling is safe if you follow proper precautions.
Personal Protection
- Safety glasses prevent eye injuries from flying shards.
- Gloves protect hands from sharp tile and hot bits.
- Dust mask is necessary, especially when drilling multiple holes or in small spaces.
Tile And Surface Protection
- Tape the area to minimize chipping.
- Use only the required pressure, forcing the drill increases risk of cracking.
- For wall tiles, ensure the wall substrate is firm; avoid drilling near tile edges.
Drill And Bit Care
- Let bits cool between holes.
- Clean bits with water and dry after use to prevent rust.
- Replace worn bits promptly; dull bits increase risk of damage.
Worksite Organization
- Keep the work area tidy to avoid slips.
- Use a drop cloth to catch debris for easy cleanup.
Emergency Preparedness
If a tile cracks or breaks, stop immediately. Assess whether the tile needs replacing or if the hole can be repositioned.
Warning: Never attempt to drill into tile near electrical wiring or plumbing without first checking behind the wall.
Troubleshooting: What To Do When Things Go Wrong
Even with careful preparation, issues can arise. Here’s how to address the most common problems.
The Tile Cracks Or Shatters
- Stop drilling immediately.
- Remove any loose pieces and assess whether a new tile is needed.
- For small cracks, use clear epoxy to stabilize; for large breaks, replacement is best.
The Bit Slips Off Target
- Use masking tape or a drill guide to anchor the bit.
- Start at an angle and straighten as the bit bites into the glaze.
The Hole Is Jagged Or Chipped
- Slow down and use less pressure.
- Smooth the edges with fine sandpaper or a diamond file.
The Bit Overheats
- Pause to allow cooling.
- Apply water more frequently.
- Consider upgrading to a higher quality, diamond-tipped bit.
The Hole Is Off-center
- Double-check markings before drilling.
- Use a level for accurate placement.
- Start with a small pilot hole for precision.
Cost And Time Considerations For Tile Drilling Projects
Understanding the investment in time and money can help you plan your tile drilling project effectively.
Tool And Material Costs
- Diamond-tipped hole saws: $10, $30 per bit, depending on size and brand.
- Carbide-tipped masonry bits: $3, $10 per bit.
- Drill guides/templates: $5, $15.
- Safety gear: $10, $30 for glasses, gloves, and mask.
Time Commitment
- Preparation: 10, 15 minutes per hole (marking, taping, setup).
- Drilling: 2, 10 minutes per hole, depending on tile thickness and bit quality.
- Cleanup: 5 minutes per hole.
Professional Vs. Diy
Hiring a professional tiler or handyman may cost $50, $100 per hour, but ensures experience and reduces risk. DIYers can save money but must invest in quality tools and take time to learn proper technique.
| Approach | Estimated Cost (Per Hole) | Typical Time Required | Risk Level |
|---|---|---|---|
| DIY (with quality tools) | $20, $50* | 20, 30 min | Moderate |
| Professional installation | $50, $100 | 10, 15 min | Low |
*Assumes purchase of drill bits, tape, and safety gear amortized over several holes.
For a deeper dive on the economics of home DIY, check out Family Handyman.
Frequently Asked Questions
How Can I Prevent The Drill Bit From Slipping On Tile?
To prevent slipping, place a piece of masking tape over the intended drill location. Mark your spot on the tape, which gives the drill bit extra grip. Alternatively, use a drill guide or template for even better control, especially on smooth or glossy tiles.
Is It Possible To Drill A Hole In Tile Without Cracking It?
Yes, with the right technique and tools. Use a diamond-tipped bit, apply slow speed and light pressure, and keep the area cool with water. Most cracks occur from rushing, using the wrong bit, or not cooling the drill site.
What Size Drill Bit Should I Use For Wall Anchors In Tile?
The drill bit size should match the diameter of the wall anchor you plan to use. Measure the anchor and select a bit of equal size. For heavy loads, choose a slightly larger anchor and corresponding bit to ensure secure holding in masonry behind the tile.
Can I Use A Hammer Drill On Tile?
Avoid using a hammer drill function on tile, as the percussive action can shatter the surface. Use a standard drill set to a low speed, and reserve hammer action only for drilling into masonry substrates after passing through the tile.
How Do I Repair A Chipped Or Cracked Tile After Drilling?
For small chips, fill the area with color-matched epoxy or caulk to blend with the surrounding tile. For larger cracks or breaks, it’s often best to replace the entire tile. Remove grout, gently pry out the damaged tile, and install a new one using thin-set mortar and fresh grout.
Drilling a hole in tile may seem intimidating, but with the right preparation, tools, and techniques, you can achieve professional results every time. By understanding your tile type, choosing the correct bit, and following a step-by-step approach, you’ll minimize risks and maximize success.
Whether you’re mounting fixtures, running utilities, or tackling a renovation, these methods will help you work confidently and efficiently. Remember to put safety first and consult experts for complex or high-stakes projects. With practice and patience, drilling holes in tile becomes just another skill in your DIY toolkit.