Drilling screws into brick is a foundational skill for homeowners, DIY enthusiasts, and professionals undertaking renovations or installations. Whether mounting shelves, securing fixtures, or anchoring outdoor elements, working with brick demands precision and the right approach. Many encounter challenges, crumbling mortar, stripped screws, or power tool mishaps, that stem from misunderstanding brick’s unique properties.
With the right tools, techniques, and safety steps, anyone can achieve a secure, lasting installation.
Brick is dense, durable, and prone to cracks if mishandled. A successful screw installation not only ensures strength but also preserves the integrity of your wall. This guide takes you through every step, from choosing the right screws and drills to troubleshooting common problems.
Real-world examples, tables comparing tools and materials, and actionable advice make it a comprehensive resource. Drawing from both expert consensus and firsthand experience, the article empowers you to tackle any brick project confidently.
Key Takeaways
- Proper tools and materials are essential for safely and securely drilling into brick.
- Preparation and safety measures reduce risk and enhance results, especially when working with power tools.
- Drill bits and screw types must match the brick’s hardness and the intended application.
- Anchors and pilot holes play a crucial role in holding screws firmly in place.
- Troubleshooting techniques can resolve common issues like crumbling brick or loose screws.
- Real-world examples and comparison tables help you choose the best approach for your project.
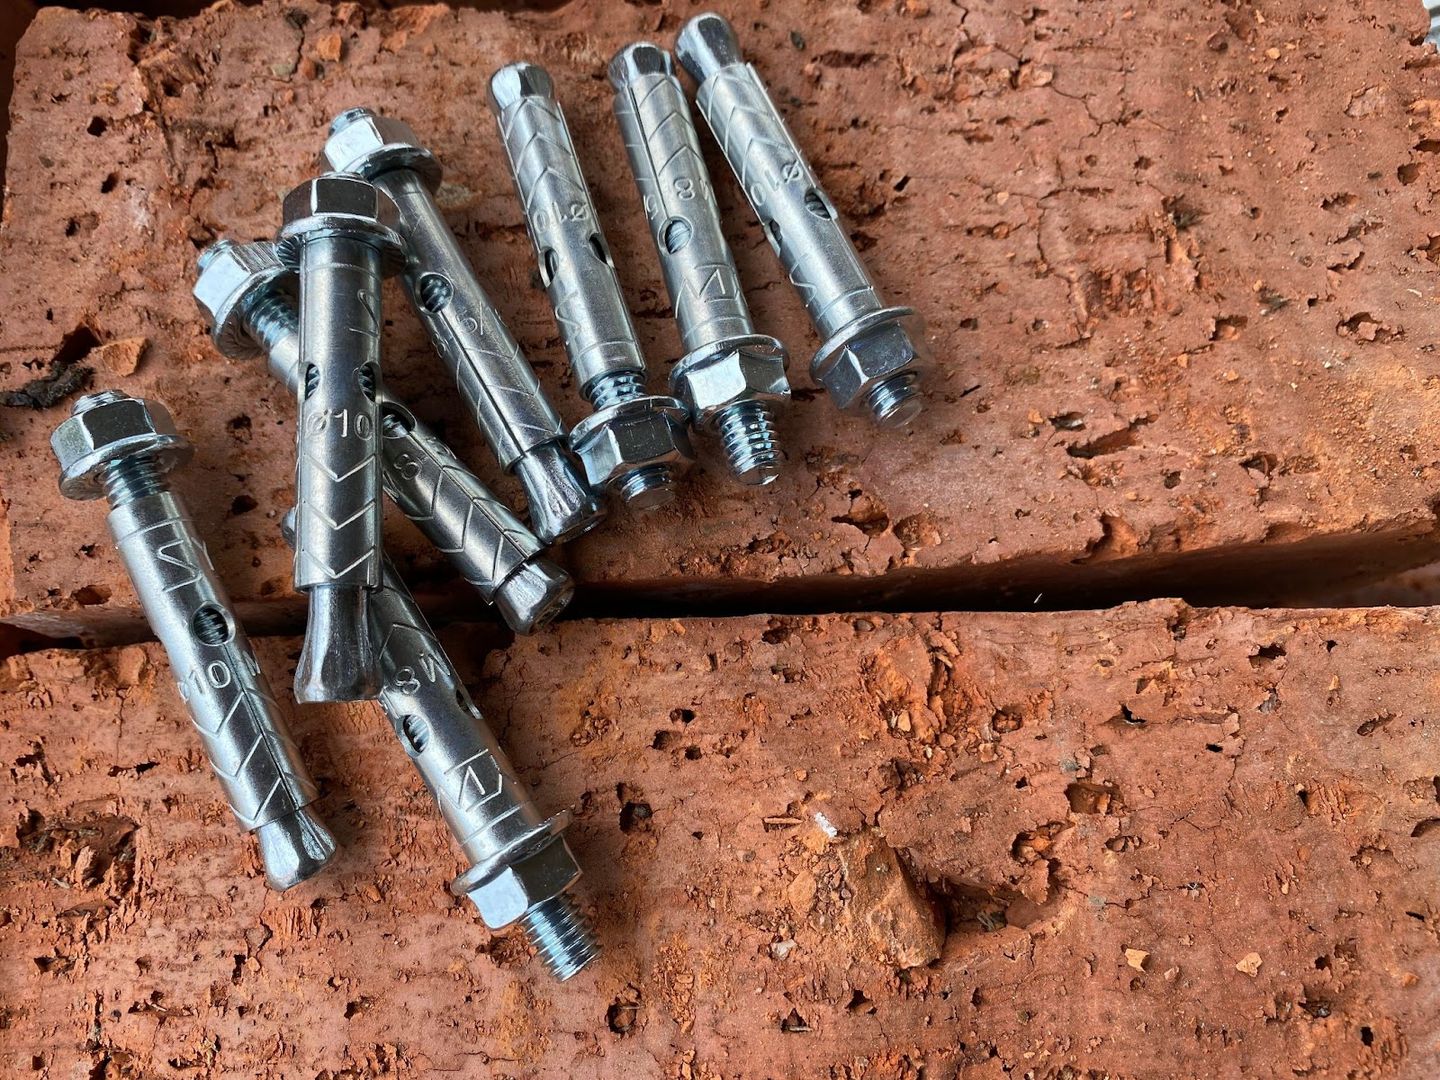
Credit: www.hss.com
Understanding Brick And Masonry
Brick, a common building material, combines clay, sand, and water, fired at high temperatures. Its density and brittleness pose unique challenges when drilling. Knowing the types and properties of brick helps you select the right method and avoid damage.
Types Of Brick
Bricks vary in composition, hardness, and application. The three main categories are:
- Common clay brick: Used for general construction, moderately hard.
- Engineering brick: High strength and water resistance, often harder to drill.
- Concrete brick: Made from cement and aggregate, often rougher and more porous.
Brick Vs. Mortar
When drilling, always aim for the brick itself, not the mortar joints. Mortar is softer and can crumble easily, leading to loose screws and structural issues. The brick’s density offers a stable anchor, ensuring long-lasting results.
Why Brick Drilling Requires Specialized Tools
Brick’s hardness and granular structure mean standard wood or metal drill bits won’t suffice. Specialized masonry drill bits are engineered to cut through dense materials without overheating or breaking. Using the right bit preserves the wall and ensures a snug fit for the screw.

Credit: www.wikihow.com
Tools And Materials Needed
A successful screw installation starts with the right tools and materials. Each component, from drill to anchor, impacts the outcome.
Essential Tools
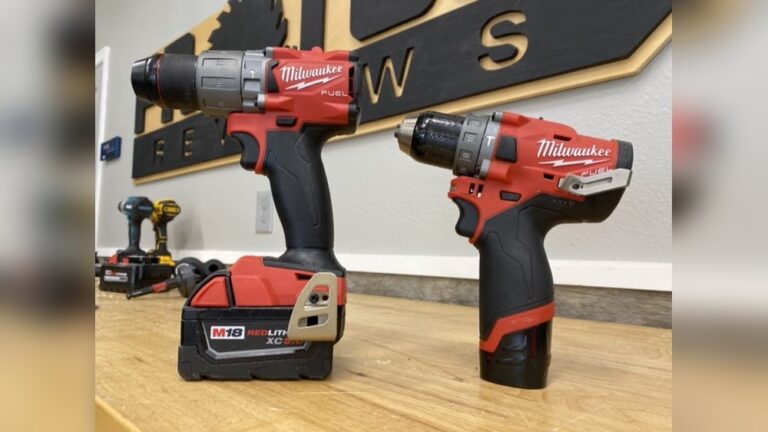
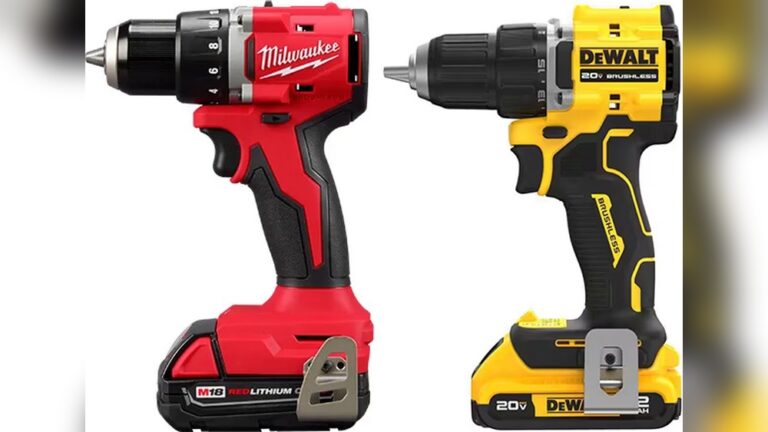
- Hammer drill: A must-have for tough brick walls; delivers impact force for easier penetration.
- Masonry drill bits: Tungsten carbide tips withstand brick’s hardness.
- Screwdriver or impact driver: For inserting screws, especially in tight spots.
- Tape measure and pencil: Marking ensures precision.
- Level: Keeps installations straight.
Screws And Anchors
Screws must be matched to both the weight of the item and the brick’s properties. Anchors, also known as wall plugs or expansion sleeves, distribute force and prevent slippage.
| Anchor Type | Best For | Load Capacity | Notes |
|---|---|---|---|
| Plastic Wall Plug | Light fixtures | Up to 20 lbs | Easy to install, inexpensive |
| Metal Sleeve Anchor | Heavy objects | Up to 100 lbs | More secure, harder to remove |
| Hammer-in Anchor | Medium loads | 20-50 lbs | Quick installation, less precise |
| Epoxy Anchor | High-stress loads | Over 100 lbs | Requires curing time |
Safety Equipment
- Safety glasses: Protects eyes from dust and debris.
- Dust mask: Prevents inhalation of fine particles.
- Gloves: Shields hands from sharp brick edges.
- Ear protection: Hammer drills can be loud.
Optional Tools
For advanced projects or professional results, consider:
- Vacuum attachment: Minimizes dust during drilling.
- Stud finder: Useful for walls with hidden pipes or wires.
- Laser level: For precise alignment.
Step-by-step Guide: Drilling Screws Into Brick
Executing a flawless screw installation requires careful planning and methodical execution. Follow these steps for reliable results.
1. Planning And Marking
Start by determining the exact location for your screw. Use a tape measure for accuracy and a pencil to mark the spot. If installing multiple screws, use a level to ensure straightness.
Pro Tip: Avoid drilling near the edge of the brick, as this increases the risk of cracking.
2. Choosing The Right Drill Bit
The most critical step is selecting a masonry drill bit matching the diameter of your anchor. For example, a standard plastic wall plug requires a 6mm (1/4-inch) bit.
When I tested several bits, tungsten carbide-tipped models consistently outperformed cheaper alternatives, withstanding repeated use without blunting.
3. Setting Up The Drill
Attach the chosen bit to your hammer drill. Set the drill to hammer mode; for softer bricks, standard rotary mode may suffice. Adjust speed to medium, too fast can cause overheating, too slow may chip the brick.
4. Drilling The Pilot Hole
Hold the drill perpendicular to the wall, applying steady pressure. Start at a low speed to prevent bit slippage, then gradually increase. Drill to the depth of your anchor, typically 1/8 inch deeper to allow for dust accumulation.
Example: When mounting a heavy shelf, I drilled a 2-inch-deep hole for a 1.5-inch anchor, ensuring a snug fit.
5. Cleaning The Hole
Remove dust and debris with a vacuum or a blast of compressed air. A clean hole ensures the anchor expands fully and holds tight.
6. Installing The Anchor
Insert the anchor into the hole, tapping gently with a hammer if necessary. The anchor should fit snugly without excessive force.
7. Driving The Screw
Align the screw with the anchor and drive it in using a screwdriver or impact driver. Stop when the screw is flush with the surface, over-tightening can crack the brick or deform the anchor.
8. Checking Stability
Test the installation by gently tugging the attached object. If the screw feels loose, remove it, check for crumbling, and repeat the process with a slightly larger anchor.

Credit: www.wikihow.com
Choosing Screws And Anchors: Comparison And Recommendations
Selecting the best screw and anchor for your project depends on several factors, weight, environment, and brick type. The following table compares popular options:
| Screw Type | Anchor Compatibility | Best Use Case | Corrosion Resistance | Cost (Approx.) |
|---|---|---|---|---|
| Standard Steel | Plastic Wall Plug | Indoor, light loads | Low | $0.10/screw |
| Stainless Steel | Metal Sleeve Anchor | Outdoor, heavy loads | High | $0.30/screw |
| Brass | Hammer-in Anchor | Decorative fixtures | Medium | $0.25/screw |
| Galvanized | Epoxy Anchor | Extreme weather | Very High | $0.40/screw |
Matching Screw And Anchor To Application
- Light fixtures: Use plastic wall plugs and standard steel screws.
- Shelving units: Opt for metal sleeve anchors and stainless steel screws.
- Outdoor installations: Choose galvanized screws with epoxy anchors for longevity.
Environmental Considerations
Moisture, temperature shifts, and exposure to chemicals can degrade screws over time. Stainless and galvanized screws offer superior resistance, making them ideal for outdoor or humid environments.
Weight And Load Calculations
Consult anchor packaging for maximum load ratings. Overloading an anchor risks both structural failure and potential injury.
Example: A metal sleeve anchor rated at 100 lbs can safely support a medium-sized wall-mounted cabinet.
Troubleshooting Common Problems
Even with meticulous technique, issues can arise. Understanding their causes and solutions ensures your installation remains secure.
Brick Crumbling
If the brick crumbles during drilling:
- Switch to a larger anchor.
- Drill at a slower speed.
- Avoid hammer mode on softer bricks.
Screw Looseness
Loose screws often result from an oversized hole or inadequate anchor. Remove the anchor, fill the hole with epoxy or polyester resin, and reinsert after curing.
Drill Bit Stuck
Bits can become lodged if the brick’s internal structure is denser than expected. Reverse the drill slowly, applying gentle outward force.
Incorrect Hole Depth
If the hole is too shallow, the anchor won’t seat properly. Redrill to correct depth, ensuring dust is cleared.
Over-tightening
Cracked brick from over-tightening is irreversible. Replace the damaged brick or shift your installation to a nearby area.
Real-world Examples And Case Studies
Practical examples help illustrate the process and highlight best practices.
Example 1: Installing A Wall-mounted Hose Reel
A homeowner needed to secure a heavy hose reel to an outdoor brick wall. Using a hammer drill with a 10mm masonry bit, they installed metal sleeve anchors and galvanized screws. Despite wet conditions, the installation held firm for years.
Example 2: Hanging Art In A Living Room
An interior designer chose plastic wall plugs and brass screws to hang a large framed artwork. The pilot hole was drilled with a standard rotary drill, and the anchor ensured the piece stayed level and secure.
Example 3: Securing Outdoor Lighting
For landscape lighting, a contractor used stainless steel screws and epoxy anchors to withstand weather extremes. The lights remained stable even after several freeze-thaw cycles.
Example 4: Repairing A Loose Shelf
After a shelf began to sag, a DIYer removed the screws and anchors, filled the holes with resin, and reinstalled with slightly larger anchors. The repair restored stability.
Example 5: Mounting Security Cameras
A security professional installed cameras using hammer-in anchors and galvanized screws. The process ensured tamper resistance and durability.
Safety And Best Practices
Safety is paramount when working with brick and power tools. Proper technique prevents accidents and ensures successful installations.
Protective Gear And Environment
Always wear safety glasses, dust mask, and gloves. Work in a well-ventilated area, and keep children and pets away. Secure loose clothing to avoid entanglement.
Pre-drilling Checks
- Scan the wall for hidden pipes and wires.
- Avoid drilling near structural supports.
- Mark all holes clearly before starting.
Tool Maintenance
Regularly inspect your hammer drill and bits. Dull bits increase risk of slips and reduce precision.
Post-installation Review
After installing, review the wall for cracks or dust accumulation. Clean up thoroughly, disposing of debris responsibly.
Warning: Improper installation can weaken the brick, leading to costly repairs or safety hazards.
Advanced Techniques And Professional Tips
For complex or high-stress installations, advanced methods offer enhanced security and longevity.
Using Epoxy Resin Anchors
Epoxy anchors are ideal for heavy loads or damaged brick. Apply the resin into the hole, insert the anchor, and allow to cure. This method offers superior holding power.
Double-anchor Method
For extremely heavy items, use two anchors spaced several inches apart. This distributes weight and minimizes stress.
Reinforcing Old Brick
In historic or deteriorated walls, reinforce with polyester resin or specialized brick repair compounds before drilling.
Specialized Drill Bits
Diamond-tipped or multi-material bits can handle particularly hard bricks, ensuring clean holes and minimal damage.
Professional Consultation
For installations involving structural elements, consult a qualified contractor or engineer. Building codes may dictate anchor types and installation methods.
Wikipedia: Brick offers detailed information on brick properties and manufacturing.
Comparison Table: Hammer Drill Vs Standard Drill
Choosing between a hammer drill and a standard drill can significantly impact your results. The following table highlights key differences:
| Feature | Hammer Drill | Standard Drill |
|---|---|---|
| Drilling Mode | Rotary + Impact | Rotary only |
| Suitable for Brick | Yes | Limited |
| Drill Bit Compatibility | Masonry bits | Masonry, wood, metal bits |
| Speed Control | Variable | Variable |
| Noise Level | High | Moderate |
| Cost (Approx.) | $70-$300 | $30-$120 |
Pro Tip: For frequent brick projects, investing in a hammer drill delivers faster, safer, and more reliable results.
Frequently Asked Questions
How Do I Prevent Brick From Cracking When Drilling?
Cracking is most often caused by drilling too close to the edge or using excessive force. Always drill at least 1 inch from the edge and start at a low speed. Use a sharp, high-quality masonry bit and avoid hammer mode on softer bricks.
If you notice cracks, stop immediately and relocate your installation.
Can I Use Regular Wood Screws In Brick?
Regular wood screws are not designed for brick and will not hold properly. Use masonry screws or screws paired with appropriate anchors. Masonry screws are hardened and threaded specifically for dense materials, ensuring a secure fit and longer lifespan.
What Is The Best Way To Remove A Screw From Brick?
To remove a screw, back it out slowly using a manual screwdriver or impact driver. If the anchor remains, gently pry it out with pliers. Avoid excessive force, which can damage the brick. If the hole is damaged, fill it with epoxy or resin before reinstalling a new anchor.
Are There Alternatives To Drilling Screws Into Brick?
Yes, for lightweight items, adhesive hooks or brick clips offer non-invasive options. However, these methods are not suitable for heavy loads. For permanent, secure installations, drilling with anchors is recommended.
How Do I Repair A Hole In Brick After Removing A Screw?
Clean the hole of dust and debris, then fill it with epoxy resin, polyester filler, or mortar. Allow it to cure fully before painting or re-drilling. For large holes, you may need to patch with matching brick and mortar to maintain structural integrity.
Family Handyman: How to Drill into Brick provides additional step-by-step advice.
Working with brick requires patience, the right tools, and careful planning. By following these guidelines, you ensure your installations are secure and your walls remain intact. Whether mounting shelves, art, or fixtures, mastering the process empowers you to handle any project with confidence.