Drilling into tile can be intimidating, even seasoned DIYers and professionals pause before putting drill bit to glazed surface. One wrong move, and you risk shattering the tile, dealing with costly repairs, and wasting hours of hard work. Yet, there are countless reasons you might need to drill into a tile wall or floor: installing towel racks, mounting shelves, or fixing bathroom accessories. The challenge is real: how can you achieve a clean, crack-free hole every time?
This comprehensive guide provides actionable, expert-backed advice on how to drill into a tile without cracking it. We’ll cover the science behind tile durability, tool and bit selection, essential preparation steps, and the most effective drilling techniques. You’ll also see real-life examples, data-driven comparisons, and troubleshooting guidance, all structured to help DIYers and professionals alike achieve perfect results.
Key Takeaways
- Choose the correct drill bit, carbide-tipped or diamond-tipped, for your tile type to minimize cracking risk.
- Preparation is critical: Mark your spot, protect the glaze, and secure the work area before you drill.
- Use slow speeds, gentle pressure, and water lubrication to prevent overheating and cracking.
- Different tile materials, ceramic, porcelain, natural stone, require specific techniques and tools.
- Proper anchoring and finishing ensure your drilled hole remains stable and crack-free over time.
- Detailed troubleshooting and real-world examples provide solutions if cracks or mistakes occur.

Credit: www.youtube.com
Understanding Tile Types And Their Drilling Challenges
The first step to drilling into tile successfully is understanding what you’re working with. Not all tiles are created equal, each material comes with distinct physical properties that impact how easily it can crack under pressure.
Ceramic Tile
Ceramic tiles are among the most common, particularly in bathrooms and kitchens. They’re relatively soft, making them easier to drill than porcelain or stone. However, their glazed surface is brittle, so improper technique can cause chipping or cracks.
Key considerations:
- Softer core, but brittle top glaze
- Requires moderate pressure and sharp bits
Porcelain Tile
Porcelain tiles are denser and harder than standard ceramics. Their low porosity and high durability make them popular for floors and high-traffic areas. However, this same hardness makes drilling more challenging, as bits can skid or overheat.
Key considerations:
- Extremely hard, less forgiving
- Needs diamond-tipped bits and water cooling
Natural Stone Tiles (marble, Granite, Slate)
Natural stones like marble, granite, and slate bring unique beauty, but also unique risks. Each stone type varies in hardness and internal structure. For example, marble is relatively soft but prone to cracking along veins, while granite is very hard and requires specialized tools.
Key considerations:
- Variable density and veining
- Always use diamond-tipped bits and water
Glass Tile
Glass tiles offer a sleek, modern look, but are highly prone to chipping and shattering if not handled with extreme care. Specialized glass drill bits and tape are essential for success.
Key considerations:
- Highly brittle and slippery
- Needs glass bits and careful taping
| Tile Type | Hardness (Mohs scale) | Recommended Drill Bit | Crack Risk |
|---|---|---|---|
| Ceramic | 5-6 | Carbide-tipped masonry bit | Moderate |
| Porcelain | 7-8 | Diamond-tipped bit | High |
| Natural Stone | 3-8 | Diamond-tipped bit | Variable |
| Glass | 5-6 | Glass/tile bit | Very High |
Understanding these differences is crucial for selecting the right tools and techniques for your project.

Credit: www.youtube.com
Essential Tools And Materials For Drilling Tile
Having the right tools on hand is half the battle. A successful, crack-free tile drilling project depends on not just the drill, but also the supporting materials and protective gear you use.
Drill Types
- Corded power drills: Offer consistent power, essential for dense tiles like porcelain or granite.
- Cordless drills: Convenient for lighter jobs, but may lack torque for tough tiles.
- Rotary tools (Dremel, etc. ): Useful for small holes or delicate work.
Pro Tip: Avoid using hammer drills on tile surfaces, the percussive action can crack even the toughest tile.
Drill Bits
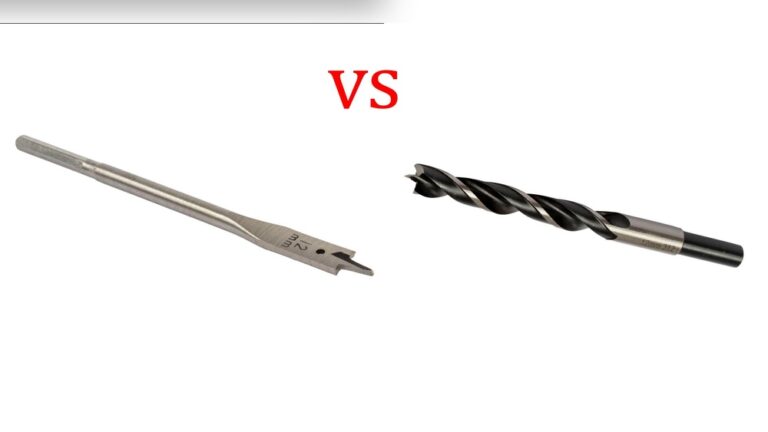
Selecting the correct bit is non-negotiable. Here’s a quick comparison:
| Bit Type | Material | Best For | Durability |
|---|---|---|---|
| Carbide-tipped | Steel with carbide tip | Ceramic tile | Moderate |
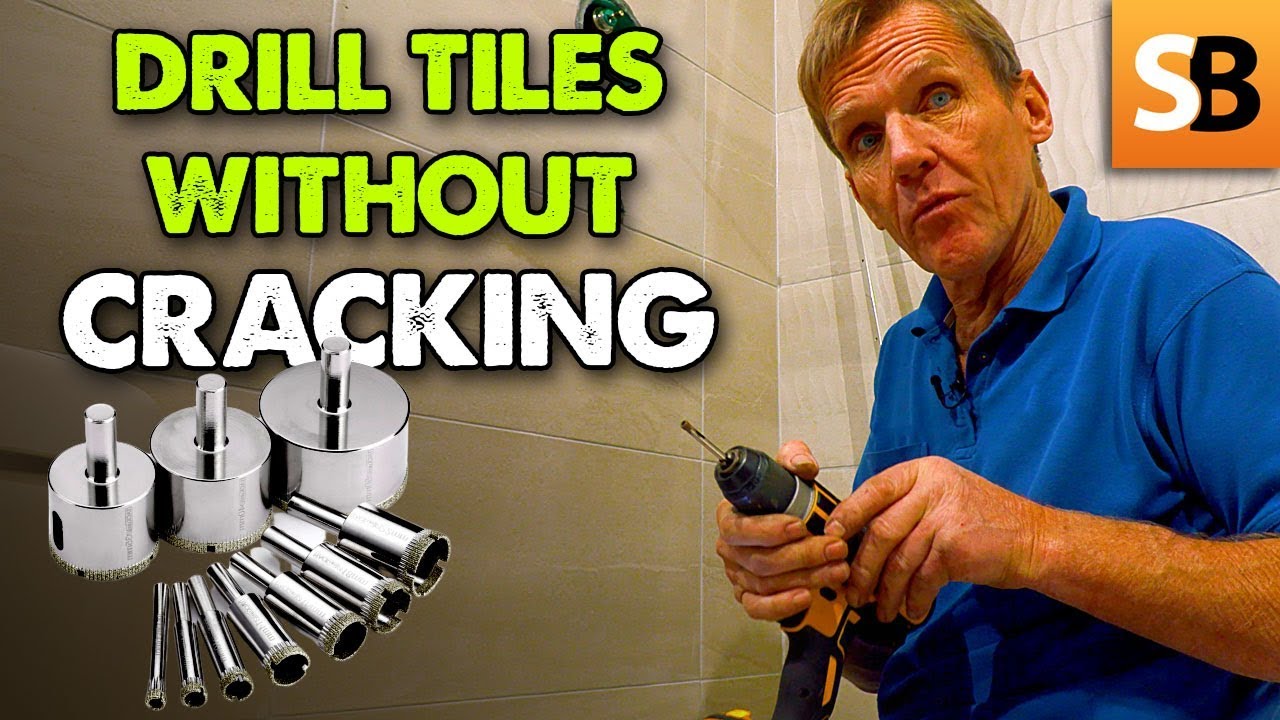
| Diamond-tipped | Steel with diamond grit | Porcelain, stone, glass | High |
| Glass/tile bit | Precision-ground carbide | Glass tile | Low |
Support Materials
- Masking tape or painter’s tape: Reduces bit slippage, marks the drilling point, and protects the glaze.
- Water spray bottle or sponge: Keeps the bit and tile cool, reducing crack risk.
- Safety goggles and gloves: Protect from sharp shards.
- Vacuum or dustpan: For efficient cleanup.
Anchors And Screws
Use tile-appropriate wall anchors and corrosion-resistant screws, especially in wet environments. Plastic expansion anchors work for light loads, while toggle bolts suit heavier fixtures.
Marking Tools
A wax pencil or non-permanent marker allows for visible marks without damaging the tile.
Real-world Example: Tool Selection Gone Wrong
A homeowner attempted to drill into porcelain using a standard masonry bit and cordless drill. The bit dulled quickly, overheated, and produced a jagged, cracked hole. Switching to a diamond-tipped bit and corded drill with water cooling resulted in a clean, precise opening.
This underscores the importance of proper bit and drill selection.
Credit: www.youtube.com
Preparation: Setting Up For Success
Rushing into drilling is a recipe for disaster. Careful preparation not only protects your tiles but also ensures a professional result.
Marking Your Drilling Spot
- Measure twice, mark once: Use a tape measure and level to precisely locate the drilling point.
- Apply masking tape: Place a piece of tape over the mark. This prevents the bit from wandering and protects the glaze.
- Mark on the tape: Use a wax pencil or marker to indicate exactly where to drill.
Example: When I tested this technique on a slick glass tile backsplash, tape made it dramatically easier to start the hole without the bit skidding.
Securing The Tile And Work Area
- For wall tiles, ensure the wall behind is solid and free of hidden pipes or wires. Use a stud finder to avoid surprises.
- For floor tiles, clear the area and avoid standing directly on the tile you’re drilling.
- If possible, support the tile from behind to prevent flexing.
Protecting Surrounding Tiles
Cracks often propagate to adjacent tiles, especially in older or poorly set installations. To protect your work:
- Cover neighboring tiles with a towel or cardboard.
- Place a damp sponge under the drilling site to absorb vibration.
Gathering Safety Equipment
Always wear safety goggles to shield your eyes from flying shards, and gloves to protect your hands. Dust masks are recommended if drilling multiple holes.
Pro Tip: Double-check For Hidden Hazards
Use a pipe and cable detector to ensure you won’t accidentally drill into plumbing or electrical lines, especially in kitchens and bathrooms.
Step-by-step Guide: How To Drill Into Tile Without Cracking
Now that your workspace is ready, follow this step-by-step process for a flawless, crack-free hole.
Step 1: Choose And Insert The Right Drill Bit
- Match the bit to your tile type (see earlier tables).
- Insert the bit securely into the drill’s chuck, ensuring it’s tight and straight.
Step 2: Set Drill Speed And Torque
- Use the lowest speed setting possible, high speed generates excess heat and increases crack risk.
- Set clutch to a low torque setting if available.
Step 3: Start Drilling, Slow And Steady
- Position the drill at a 90-degree angle to the tile surface.
- Begin with gentle pressure, let the bit “score” the glaze for the first 10-20 seconds.
- If using tape, the bit will bite more easily. If not, start at a slight angle, then straighten out after a small indentation forms.
Step 4: Keep The Bit And Tile Cool
- Every 10-15 seconds, pause and spray water on the drilling spot or apply a damp sponge.
- For vertical surfaces, have a helper hold a sponge or use a water ring to contain moisture.
Step 5: Drill Through The Tile Layer
- Continue with light, even pressure, do not force the bit.
- Once through the glaze and body, you’ll feel reduced resistance.
- If you’re drilling into a wall, switch to a standard masonry bit to continue through underlying materials (e.g., drywall or concrete).
Step 6: Insert Anchor And Screw
- Clean out the hole with compressed air or a vacuum.
- Insert the wall anchor flush with the tile.
- Drive the screw gently, over-tightening can crack the tile.
Step 7: Clean And Inspect
- Wipe down the area with a damp cloth.
- Inspect for any fine cracks or chips; if found, use a clear epoxy or tile repair filler.
Warning: Do not use hammer or impact functions on your drill, these can instantly shatter even the toughest tiles.
Best Drilling Techniques For Different Tile Materials
Different tile types demand tailored techniques to minimize cracking and maximize accuracy.
Drilling Ceramic Tile
- Use a carbide-tipped masonry bit.
- Lower speed and moderate pressure.
- Keep the drill steady to avoid chipping the glaze.
Drilling Porcelain Tile
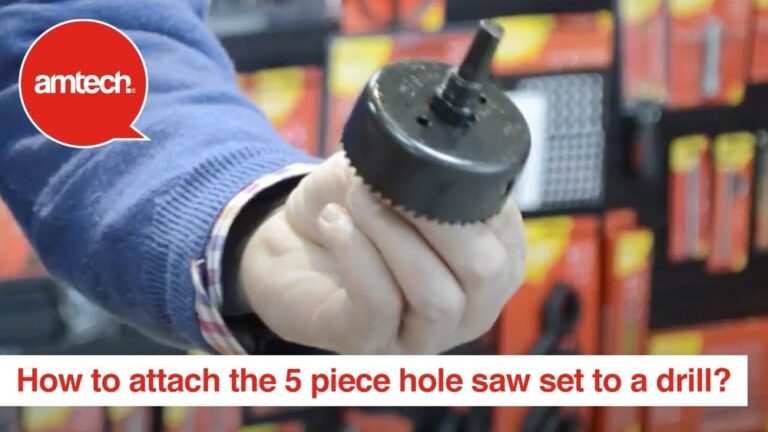
- Use a diamond-tipped bit (hole saw for large holes).
- Start with a pilot hole if possible.
- Water cooling is essential, porcelain overheats quickly.
- Proceed slowly, allowing the bit to do the work.
Drilling Natural Stone Tiles
- Use a diamond-tipped bit specifically rated for stone.
- Mark the spot carefully, stone can have hidden fissures.
- Use plenty of water; consider a drilling guide to keep the bit on track.
- Expect slower progress due to hardness.
Drilling Glass Tile
- Specialized glass/tile bits are mandatory.
- Use painter’s tape liberally to prevent slippage.
- Extreme caution with pressure; let the bit “grind” the hole, not punch through.
Data Table: Drilling Recommendations By Tile Type
| Tile Type | Bit Type | Drill Speed | Water Needed? | Notes |
|---|---|---|---|---|
| Ceramic | Carbide-tipped | Low | Recommended | Moderate risk, tape helps |
| Porcelain | Diamond-tipped | Very low | Essential | Very hard, go slow |
| Natural Stone | Diamond-tipped | Low | Essential | Beware of veins/fissures |
| Glass | Glass/tile | Very low | Essential | Extra tape, gentle touch |
Real-world Examples And Case Studies
The right technique is proven not just in theory, but in real-life projects. Here are several instructive examples.
Example 1: Bathroom Towel Bar Installation On Porcelain Tile
A DIYer needed to install a towel bar on a recently tiled bathroom wall. After researching, they chose a diamond-tipped bit and marked the holes with masking tape. By drilling at low speed and spraying water throughout, they produced two perfect holes with no cracks, even in the extra-hard porcelain. The key was patience and frequent cooling.
Example 2: Kitchen Backsplash Outlet Extension
A professional installer faced cutting holes in glass mosaic tiles for electrical outlets. Using a glass/tile bit and multiple layers of painter’s tape, they managed to avoid shattering the glass. Starting at an angle helped the bit bite, and slow, steady drilling yielded flawless results.
Example 3: Anchoring Heavy Shelves In Marble
An interior designer wanted to install floating shelves on a marble accent wall. They used a diamond-tipped hole saw with a guide, abundant water, and a helper to hold a sponge in place. Each hole took several minutes, but the extra caution paid off: no visible cracks, and the marble’s beauty remained intact.
Troubleshooting And Repairing Tile Drilling Mistakes
Even with the best preparation, mistakes can happen. Here’s how to address common issues:
Cracked Or Chipped Tile
- If the crack is minor, fill it with clear epoxy or tile repair filler designed for your tile material.
- For larger cracks, replacement is often the only permanent solution. Carefully remove the damaged tile and reset a new one.
Bit Skidding Off Mark
- Stop immediately.
- Apply more masking tape, and start again with a fresh bit.
- Consider using a drilling guide or template.
Overheating Or Smoking Bit
- Pause drilling.
- Cool the bit and tile with water.
- Replace the bit if the tip is dull or deformed.
Loose Anchors
- Use a larger anchor or toggle bolt.
- If the hole is too large, fill with two-part epoxy before reinserting anchor.
Example: A homeowner drilling into stone found their bit smoking after 30 seconds. Stopping and cooling both the bit and tile with water solved the issue, preventing a crack from forming.
Anchoring And Finishing: Ensuring Long-term Tile Integrity
Drilling the hole is only part of the process. Proper anchoring and finishing ensure your tile remains undamaged over time.
Choosing The Right Anchor
- For light loads (towel bars, soap dishes): Use plastic expansion anchors.
- For medium loads (shelves, curtain rods): Toggle or molly bolts provide extra holding power.
- For heavy loads (grab bars): Use structural anchors and ensure they’re fixed into a wall stud.
Inserting Anchors And Screws
- Gently tap the anchor flush to the tile surface.
- Insert the screw slowly by hand, avoiding over-tightening.
- For glass or thin tiles, consider using a rubber washer to distribute pressure.
Sealing The Hole
- In wet or high-humidity areas, apply a small amount of silicone caulk around the anchor to prevent water ingress.
- Wipe away excess caulk for a clean finish.
Cleaning Up
- Remove all tape and wipe the area with a damp cloth.
- Use a vacuum to collect dust and debris.
Pro Tip: For extra protection, apply a clear sealant over the drilled hole, especially in showers or backsplashes.
Safety Best Practices And Professional Tips
Safety is paramount when drilling into tile. Flying shards, dust, and sharp tools all pose risks.
Personal Protective Equipment
- Safety goggles: Protect your eyes from tile shards and dust.
- Work gloves: Prevent cuts from sharp tile edges.
- Dust mask: Essential if drilling multiple holes or working with stone.
Work Area Precautions
- Keep the work area free of pets and children.
- Use drop cloths or cardboard to protect floors and nearby surfaces.
- Secure loose clothing and tie back long hair.
Professional Tips For Flawless Results
- Always use a sharp, undamaged bit, worn bits increase crack risk.
- Drill at room temperature, extreme cold or heat can make tiles more brittle.
- For large-diameter holes, start with a small pilot hole before switching to a larger bit or hole saw.
- Keep a spray bottle of water within reach to cool the bit frequently.
Example: Learning From A Pro
A seasoned tile installer revealed that changing out drill bits after every 5-10 holes, especially when working with porcelain, reduced the risk of accidental cracks and ensured cleaner holes. Investing in quality bits saves time and money in the long run.
Frequently Asked Questions
How Do I Know If My Tile Is Ceramic Or Porcelain?
Ceramic and porcelain tiles often look similar, but you can tell them apart by examining the tile edge. Porcelain tiles are denser, heavier, and usually the same color throughout, while ceramic tiles tend to have a glazed surface with a different-colored core. If you’re unsure, refer to the product packaging or consult with your installer.
Can I Use A Regular Masonry Bit For All Tile Types?
Regular masonry bits work reasonably well for ceramic tile, but they quickly wear out on porcelain, stone, or glass tiles and can increase cracking risk. For these tougher materials, use a diamond-tipped or glass/tile bit to ensure cleaner holes and prolong bit life.
What Should I Do If I Accidentally Crack A Tile While Drilling?
If the crack is small, fill it with clear epoxy or a matching tile repair filler. For larger cracks or if the tile is severely damaged, it’s best to replace the tile. This involves carefully chiseling out the broken tile, cleaning the area, and installing a new one with fresh adhesive and grout.
Is It Safe To Drill Into Tiles In A Wet Area, Like A Shower?
Yes, but extra care is needed to ensure water does not penetrate behind the tile. Use waterproof wall anchors, seal the hole with silicone caulk, and choose corrosion-resistant screws. For heavy-duty fixtures, ensure anchors penetrate solid backing or wall studs for safety.
How Can I Prevent Drill Bits From Overheating When Drilling Into Hard Tile?
To keep bits cool, pause frequently, spray water directly onto the bit and drilling area, and avoid high drill speeds. Specialized drilling guides can help retain water around the bit. For very hard tiles, consider using a cordless drill with variable speed to maintain steady control.
Drilling into tile can be daunting, but with the right knowledge, tools, and patience, you can achieve professional, crack-free results. Whether you’re mounting bathroom fixtures, installing kitchen backsplashes, or working with delicate glass mosaics, following these expert-backed steps will help you avoid costly mistakes. For further technical details and advanced tiling techniques, consult resources like Family Handyman and the Wikipedia Tile Drill Bit Guide. With care and the right preparation, your next tile project will stand the test of time, beautiful, functional, and free of cracks.