Drilling holes in a wall sounds simple, until you’re facing a blank surface and wondering what’s behind it, what tool to use, and how to avoid a costly mistake. Whether you’re mounting a TV, hanging shelves, or installing curtain rods, the process can feel intimidating, especially for beginners.
Yet, with the right preparation, knowledge, and a few expert tips, drilling holes becomes a safe and efficient DIY task.
From my own experience as a home improvement enthusiast, I know that mastering this basic skill opens up a world of possibilities for customizing your space. In this comprehensive guide, you’ll learn how to drill holes into different wall types, select the correct tools, avoid hidden hazards, and achieve clean, professional results every time.
Key Takeaways
- Wall material dictates your drilling technique and tools, identify your wall type before starting.
- Selecting the right drill bit is crucial for clean holes and preventing wall damage.
- Safety precautions, like checking for wires and pipes, can prevent accidents and costly repairs.
- Proper marking and measuring ensure accurate, level holes for your project.
- Finishing steps, including cleaning and reinforcing holes, are essential for a polished result.
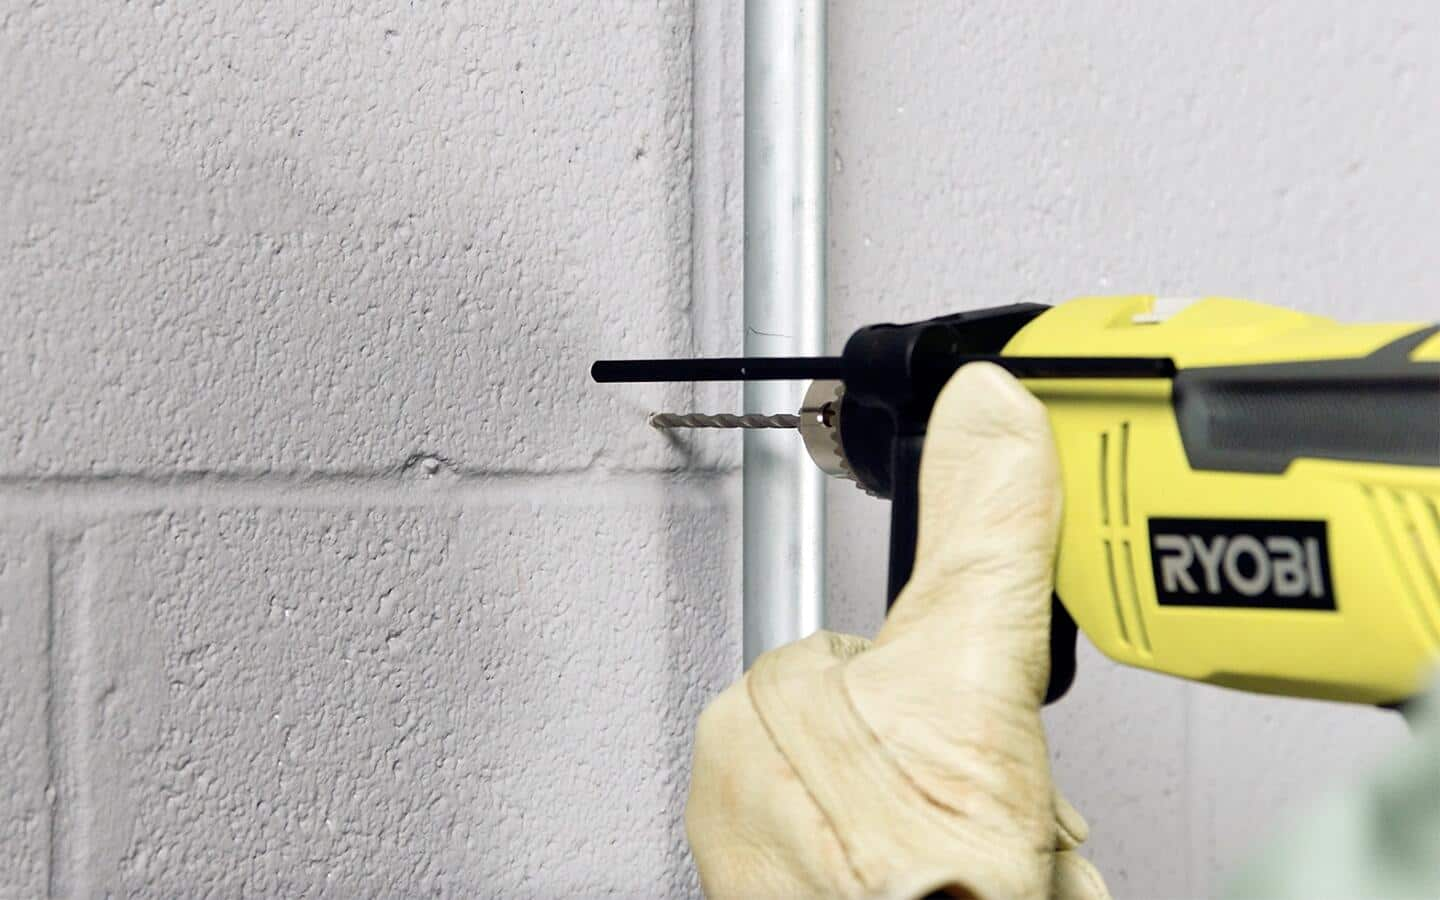
Credit: www.homedepot.com
Understanding Wall Types And What Lies Beneath
Knowing your wall composition is the foundation of safe and successful drilling. Different materials demand unique approaches, and hidden infrastructure like wiring or plumbing poses additional risks.
Common Wall Materials
The most prevalent wall types in US homes and commercial buildings are:
- Drywall (gypsum board): Lightweight, easy to penetrate, and common in interiors.
- Plaster: Harder, thicker, and often found in homes built before 1950.
- Concrete and masonry: Used in basements, garages, and high-rise buildings.
- Brick: Both interior accent walls and exterior facades.
- Wood paneling: Sometimes covers older walls or is used decoratively.
How To Identify Your Wall Type
- Visual inspection: Look for visible seams (drywall), rough texture (plaster), or mortar lines (brick).
- Knock test: Tap the wall, hollow sounds usually mean drywall, while solid knocks can indicate masonry or plaster.
- Drill test: If unsure, start with a small, inconspicuous hole to gauge resistance.
What’s Behind The Wall?
Before drilling, it’s critical to assess what might be hidden:
- Electrical wires: Run horizontally or vertically from outlets, switches, or fixtures.
- Plumbing pipes: Usually near kitchens, bathrooms, and laundry areas.
- Studs: Wooden or metal framing supports found behind drywall or plaster.
Pro Tip: Use a stud finder and a wire/pipe detector to scan the area before you drill. These tools can prevent dangerous and expensive mistakes.

Credit: www.recommend.my
Essential Tools And Materials For Drilling
The right equipment ensures both safety and efficiency. Investing in quality tools saves time and delivers cleaner results.
Core Tools Checklist
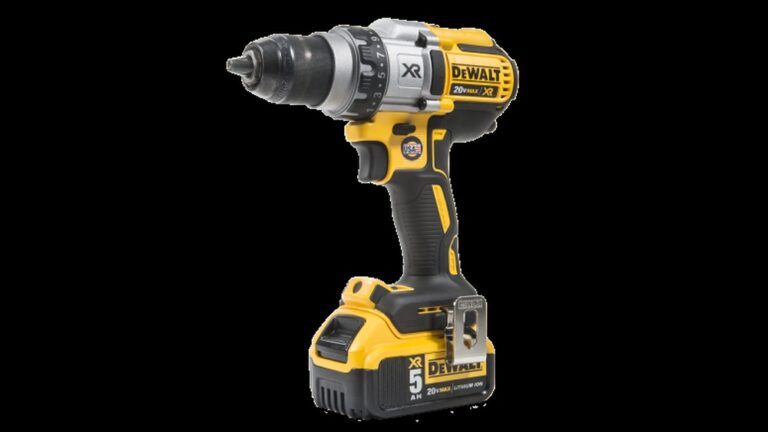
- Drill: Choose between corded or cordless power drills. Hammer drills are essential for masonry.
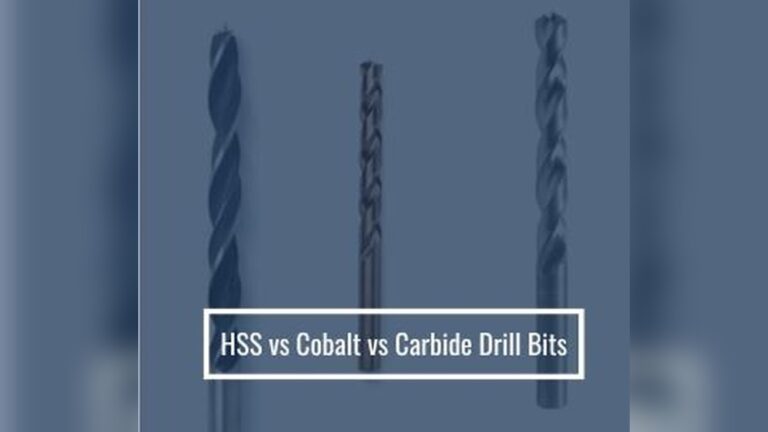
- Drill bits: Different wall types require specific bits (see table below).
- Stud finder: Locates framing behind drywall.
- Wire/pipe detector: Prevents accidental strikes.
- Tape measure and level: For accurate placement.
- Pencil or masking tape: Marks your drill points.
- Vacuum or dust collector: Keeps your workspace clean.
- Safety goggles and dust mask: Protects eyes and lungs.
- Wall anchors or plugs: Essential for securing screws in hollow walls.
Drill And Bit Comparison Table
| Wall Type | Recommended Drill | Best Drill Bit Type | Anchor Needed? |
|---|---|---|---|
| Drywall | Cordless or corded standard drill | High-speed steel (HSS) bit | Yes, for heavy items |
| Plaster | Standard drill (low speed) | Masonry bit | Yes, always |
| Concrete/Masonry | Hammer drill | Masonry carbide-tipped bit | Yes, always |
| Brick | Hammer drill | Masonry bit | Yes, always |
| Wood Paneling | Standard drill | Wood bit or brad point bit | No, if drilled into studs |
Choosing Wall Anchors
- Plastic expansion anchors: For lightweight loads on drywall.
- Toggle bolts: For heavy items like shelves or TVs.
- Masonry anchors: For brick and concrete.
- Molly bolts: For medium weights in hollow walls.
Example: When I installed floating shelves on drywall, plastic anchors sufficed for books, but for a heavy mirror, I used toggle bolts for extra security.
Step-by-step Guide: Drilling Holes Into Different Wall Types
Every wall material requires tailored techniques to achieve clean, safe holes. Below, we break down the process for the most common wall types.
Drilling Into Drywall
- Locate studs using a stud finder. For heavy objects, always anchor into studs.
- Mark drill points with a pencil.
- Select a bit: Use a standard HSS bit for small holes.
- Drill slowly: Apply steady pressure; avoid pushing too hard.
- Insert anchor if not hitting a stud, then install your screw.
Pro Tip: For small holes, twist a screwdriver instead of drilling to avoid over-penetration.
Drilling Into Plaster
- Use painter’s tape over the spot to prevent chipping.
- Mark and pilot hole: Start with a small masonry bit.
- Drill at low speed: High speed can crack brittle plaster.
- Insert anchor: Molly or toggle bolts work best.
Drilling Into Masonry Or Brick
- Mark with a masonry pencil or chalk.
- Choose a hammer drill with a masonry bit.
- Start slowly: Let the bit establish a path.
- Increase speed: Once the bit bites, speed up.
- Vacuum dust as you go for visibility.
- Tap in masonry anchor before installing hardware.
Warning: Drilling into brick generates a lot of dust, always wear a mask and goggles.
Drilling Into Wood Paneling
- Identify stud locations, paneling is often thin.
- Mark and drill: Use a wood bit, drilling directly into the stud for strength.
- No anchor needed if you hit solid wood.
- If hollow, use wall anchors suitable for drywall.

Credit: www.youtube.com
Marking, Measuring, And Precision Techniques
Accurate marking and measuring distinguish a professional result from a DIY mishap. This section covers techniques for precise, level holes every time.
Measuring For Hole Placement
- Measure twice, drill once: Double-check all measurements for symmetry and alignment.
- Use a level: Ensures shelves, frames, and hardware are perfectly horizontal.
- Mark both ends: For items with more than one mounting point, mark each hole separately.
Marking The Wall
- Pencil: Easy to erase; use for light walls.
- Masking tape: Place tape on dark or textured surfaces, mark on the tape.
- Laser level: Projects straight lines for multi-point installations.
Spacing And Alignment
- Templates: For items like wall hooks or picture frames, use the hardware’s template or make your own from paper.
- Spacer blocks: Maintain consistent gaps between multiple holes or items.
Example: When installing a row of wall hooks, I used a 4-inch wooden spacer block for perfectly even spacing.
Double-checking Before Drilling
- Stand back and assess: Visualize the final look before drilling.
- Use a plumb line: For vertically aligned holes.
- Confirm with a friend: A second set of eyes can spot misalignments.
Safety Precautions: Avoiding Hidden Hazards
Drilling without proper checks can lead to accidents, property damage, or even injury. These precautions are non-negotiable for every project.
Checking For Wires And Pipes
- Electronic stud finders with live wire detection are essential. Scan the entire area, especially near outlets, switches, and plumbing fixtures.
- Manual detection: Look for visible clues, pipes behind access panels or electrical outlets may signal hidden infrastructure.
Pro Tip: If you suspect a pipe or wire, drill a small exploratory hole and probe gently with a non-metallic tool.
Personal Protective Equipment (ppe)
- Safety goggles: Prevent eye injury from flying debris.
- Dust mask: Especially important with plaster or masonry.
- Gloves: Protect hands from sharp bits and splinters.
- Hearing protection: Hammer drills can be loud.
Safe Drilling Practices
- Secure ladders: Always use a stable platform.
- Keep cords clear: Prevent tripping hazards.
- Unplug tools when changing bits.
Emergency Procedures
- Know your circuit breakers: If you hit a wire, immediately switch off the power at the breaker.
- Water shutoff: Know the location in case you puncture a pipe.
- First aid kit: Keep one on hand for minor injuries.
Real-world Examples: Drilling Successes And Lessons Learned
Learning from real projects helps avoid common pitfalls and inspires confidence. Here are three scenarios illustrating best practices and common challenges.
Example 1: Mounting A Tv On Drywall
A homeowner wanted to mount a 55-inch TV above a fireplace. Using a stud finder, they located two studs to support the bracket. After marking the points and verifying with a level, they drilled pilot holes and used heavy-duty lag bolts.
The TV has remained secure for over two years, holding 65 pounds without issue.
Example 2: Installing Floating Shelves On Brick
In an urban loft, brick walls created both a design opportunity and a challenge. The installer used a hammer drill and masonry bit, creating dust but achieving clean holes. Masonry anchors held strong, supporting heavy books and decor. The lesson: patience and the right tools make drilling into brick manageable.
Example 3: Hanging Art On Plaster Walls
An artist in a historic home needed to display large canvases. To avoid cracking the plaster, they used painter’s tape, drilled at low speed, and installed molly bolts. The walls remained intact, and the artwork was safely displayed.
Troubleshooting Common Drilling Problems
Even with careful planning, issues can arise. Here’s how to handle the most frequent challenges.
Hole Is Too Large Or Misshapen
- Solution: Fill with spackle or wall repair compound. Once dry, re-drill at a new spot or use a larger anchor.
Drill Bit Won’t Penetrate
- Solution: For masonry, ensure you’re using a hammer drill and a fresh masonry bit. For wood or metal, switch to a sharper bit or reduce speed to prevent overheating.
Wall Crumbles Or Chips
- Solution: Apply masking tape to stabilize the surface before drilling. Use a smaller pilot hole to reduce stress.
Anchor Spins In The Hole
- Solution: Remove the anchor, fill the hole with wood glue and a wooden matchstick or dowel, let dry, then re-drill.
Striking A Hidden Obstacle
- Solution: Stop immediately. Probe gently to identify the material. If it’s a pipe or wire, consult a professional before proceeding.
Data Insights: Drilling Tools And Techniques By Popularity
Understanding what others use can help inform your choices. Below is a comparison of popular drills and bit types based on user reviews and market data.
| Tool Type | Best For | Average User Rating (1-5) | Price Range (USD) |
|---|---|---|---|
| Cordless Drill | Drywall, wood | 4.7 | $50-$200 |
| Hammer Drill | Masonry, brick | 4.6 | $80-$250 |
| Impact Driver | Driving screws | 4.5 | $60-$180 |
| HSS Drill Bit | General purpose | 4.8 | $5-$20 (set) |
| Masonry Bit | Concrete, brick | 4.9 | $8-$25 (set) |
For more on drill types and ratings, visit the Consumer Reports drill guide.
Finishing Touches: Cleaning, Repair, And Reinforcement
A drilled hole isn’t complete until it’s properly finished. These steps ensure longevity and aesthetics.
Cleaning Up
- Vacuum dust immediately to prevent buildup.
- Wipe surfaces with a damp cloth to remove debris.
- Dispose of debris safely, especially if drilling into old plaster, which may contain lead.
Repairing Mistakes
- Spackle or patch unwanted holes.
- Sanding smooths out rough repairs.
- Touch-up paint restores the original wall color.
Reinforcing For Heavy Loads
- Use multiple anchors for wide or heavy items.
- Upgrade to toggle or molly bolts for added strength.
- Consult load ratings: Most drywall anchors support up to 50 pounds; toggle bolts can handle up to 100 pounds (see manufacturer specs).
Pro Tip: For extremely heavy installations, consider mounting a wooden backer board to the studs, then attaching your item to the board.
Sustainability And Best Practices For Longevity
Drilling holes has an environmental impact, especially if it leads to frequent repairs or wall replacements. Adopting sustainable practices can reduce waste and prolong the life of your walls.
Minimizing Damage
- Plan ahead: Group installations to limit the number of holes.
- Use reusable anchors where possible.
- Avoid over-drilling: Only make holes as large as necessary.
Eco-friendly Materials
- Choose low-VOC spackle and paint for repairs.
- Recycle packaging from tools and hardware.
Maintaining Wall Integrity
- Annual checks: Inspect heavy installations periodically.
- Immediate repairs: Patch unused holes to prevent moisture ingress.
For more on sustainable home improvement, visit the EPA Greener Products Guide.
Frequently Asked Questions
How Do I Know If I’ve Hit A Stud Or Just Drywall?
A stud finder is the most reliable way to locate studs. When drilling, you’ll notice increased resistance and a tighter feel as you penetrate wood or metal, unlike the softer, crumbly sensation of drywall. If your screw bites firmly and holds weight, you’ve likely hit a stud.
Can I Drill Into Walls With Asbestos Or Lead Paint?
If your home was built before 1980, there’s a chance that plaster or paint contains hazardous materials like asbestos or lead. Disturbing these can release dangerous particles. Always have old walls tested by a certified professional before drilling. If found, hire a licensed abatement contractor for safe handling.
What’s The Best Way To Fill And Hide Unwanted Holes?
For small holes, use lightweight spackle or wall putty, applied with a putty knife. Let it dry, sand smooth, and touch up with matching paint. For larger holes, a wall repair patch or mesh tape may be required before applying compound.
Seek out paint-matching services at hardware stores for seamless repairs.
How Often Should I Replace My Drill Bits?
Drill bits wear out with use, especially on hard materials like masonry. A dull bit will produce more dust, heat, and uneven holes. For frequent DIYers, inspect bits after every major project and replace as soon as you notice decreased performance or visible wear.
Masonry bits typically last for 20-30 holes in brick or concrete.
Can I Drill Into Tile Or Glass Walls?
Drilling into tile or glass requires specialized bits (such as carbide-tipped or diamond bits) and a very steady hand. Always use masking tape to prevent bit slippage, drill at low speed, and apply minimal pressure. Cooling the area with water can prevent cracking.
For high-value installations, consider hiring a professional.
Mastering the skill of drilling holes into walls is a foundational DIY competency that enables countless home improvement projects. With a solid understanding of wall materials, proper tool selection, and a methodical approach, you can tackle everything from art installations to shelving with confidence and precision.
Above all, take time to measure, use the right safety gear, and respect the hidden complexities behind your walls. The result is a home that’s more functional, beautiful, and uniquely yours.