Choosing the right drill bit for a 1/4-20 tap may seem simple, but it’s a detail that can make or break your project. If the hole is too small, tapping becomes difficult and the tap may break. If it’s too large, the threads won’t hold, making your work weak or unsafe. This is especially true for anyone working with metal, wood, or plastic in workshops, factories, or even at home. Many beginners—and even some experienced hands—make mistakes here, leading to wasted materials, broken tools, or dangerous assemblies.
This article will give you everything you need to know about the drill bit size for a 1/4-20 tap, including why it matters, how to choose the best bit for your material, and what to do if you don’t have the exact size on hand. We’ll also cover related details about the tap itself, including its uses, types, and some surprising facts that even seasoned DIYers sometimes overlook. By the end, you’ll have total confidence in drilling and tapping holes for strong, reliable threads.
What Does “1/4-20 Tap” Mean?
Before drilling, you need to understand what 1/4-20 tap actually means. This term follows the Unified Thread Standard (UTS), which is common in the United States and many other regions.
- 1/4 refers to the outer diameter of the screw or bolt in inches (so, 0.25 inches).
- 20 is the number of threads per inch (TPI).
- Tap is the tool that cuts threads inside a hole.
So, a 1/4-20 tap creates internal threads for a bolt that is 1/4 inch in diameter and has 20 threads per inch.
This size is extremely popular for general assembly, machine building, furniture, automotive parts, and more. You’ll find 1/4-20 bolts in everything from bikes to electronics.
The Standard Drill Bit Size For A 1/4-20 Tap
The most important question: What drill bit should you use for a 1/4-20 tap?
The standard drill bit size is #7 (0.201 inch or 5.1mm). This is the recommended size by both tool manufacturers and engineering standards like the Machinery’s Handbook.
Here’s why:
- A #7 drill bit leaves just the right amount of material for the tap to cut clean, strong threads.
- If the hole is smaller, tapping becomes hard and risky (the tap can break).
- If the hole is bigger, the threads are weak and may strip under stress.
For most jobs, especially in metal, a #7 drill bit is the safest, most reliable choice for a 1/4-20 tap.
Drill Bit Size Chart For 1/4-20 Tap
To help you visualize this, here’s a quick reference:
| Tap Size | Threads Per Inch (TPI) | Recommended Drill Bit | Decimal Inch Size | Millimeter Size |
|---|---|---|---|---|
| 1/4-20 | 20 | #7 | 0.201″ | 5.1mm |
If you’re using a tap and die set, check the box or instructions—most will confirm this standard size. But there’s more to consider, especially if you don’t have a #7 bit or if you’re working with unusual materials.

Credit: www.amazon.de
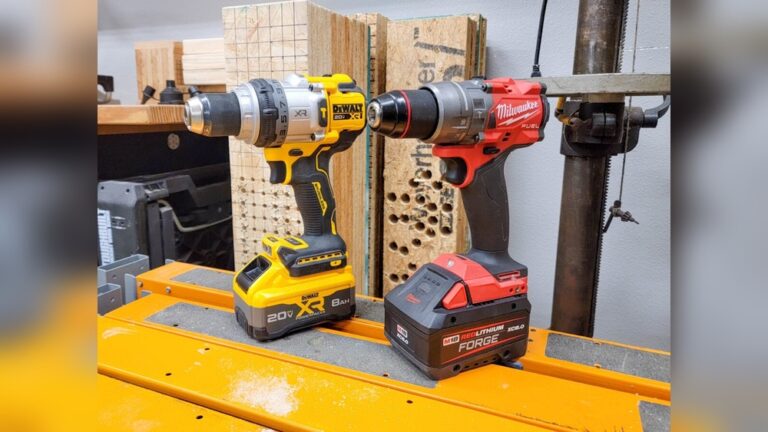
Four Essential Items When Working With A 1/4-20 Tap
When preparing to tap a hole for a 1/4-20 screw, you need to consider four key items. Each plays a special role in getting the best results and avoiding problems. Let’s look at each one closely.
1. The Right Drill Bit (7 Or 0.201 Inch)
The drill bit is the most obvious item. As explained earlier, a #7 drill bit is the standard for a 1/4-20 tap. You might see some people using a 13/64” (0.2031”) bit, which is slightly larger. While this can sometimes work in softer materials like plastic or aluminum, it’s not ideal for steel or hard metals, since the threads will be weaker.
Why does the exact size matter?
- If the hole is too small, you risk breaking the tap. This is not only frustrating but also dangerous.
- Too large, and the threads won’t have enough grip. The bolt might strip out under load.
Pro tip: Always check your drill bit size with a caliper or a drill gauge. Bits can get mixed up or worn down over time.
Non-obvious insight: Drill bits may look similar in size, but even a difference of 0.005″ (about the width of a human hair) can make a big difference in thread strength.
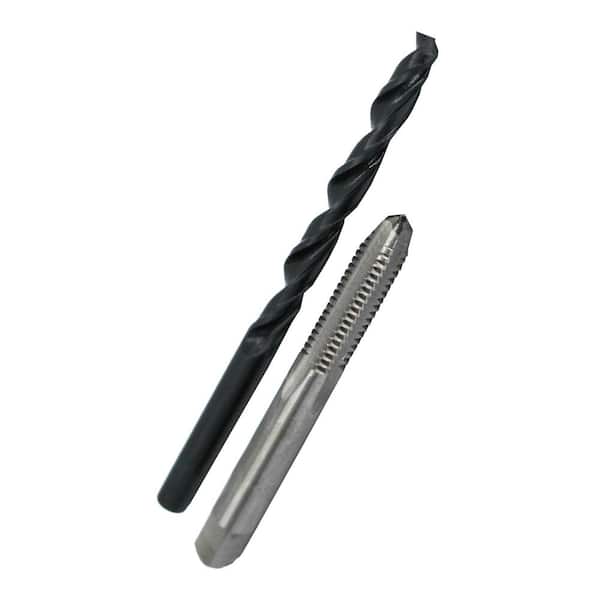
2. The Tap (1/4-20 Unc Tap)
The tap itself is essential, but there are different types to choose from, each designed for specific uses:
- Taper Tap: Begins the threading process smoothly; best for starting new threads.
- Plug Tap: Good all-rounder for through holes.
- Bottoming Tap: Cuts threads all the way to the bottom of a blind hole.
Which should you use?
- If you’re threading a hole that goes all the way through, a plug tap is easiest.
- For blind holes (where the hole doesn’t go all the way), use a taper or bottoming tap. Start with a taper, finish with a bottoming tap.
Non-obvious insight: Many beginners try to use a bottoming tap from the start, but it’s much harder to begin threading this way. Always start with a taper or plug tap for best results.
3. Tap Wrench Or T-handle
A tap wrench or T-handle is the tool used to turn the tap. This may sound trivial, but using the wrong tool can lead to crooked threads or broken taps.
- T-handle tap wrenches offer good control and keep the tap straight.
- For small taps like 1/4-20, a T-handle is best. It lets you feel the resistance and avoid snapping the tap.
Why does this matter?
- Using pliers or an adjustable wrench can twist the tap unevenly, leading to stripped threads or tool breakage.
- A proper tap wrench ensures even, slow, controlled pressure.
Practical tip: Always keep the tap aligned with the hole. Go slow, and back the tap out every quarter turn to break chips and reduce jamming.
4. Cutting Fluid Or Lubricant
Many people skip this step, but cutting fluid or lubricant is crucial for clean threads and tap longevity.
- Why use it? Reduces friction, cools the tap, helps clear chips, and prevents galling (metal sticking to the tap).
- For steel, use a good cutting oil. For aluminum, use a light oil or WD-40. For plastics, sometimes no lube is needed, but check manufacturer guidance.
Non-obvious insight: Dry tapping (without lubricant) wears out taps faster and can make threads rougher, especially in harder materials.
Extra tip: If you don’t have cutting oil, even a drop of motor oil is better than nothing.
The Tapping Process: Step-by-step
Knowing the right drill bit is just the start. Let’s walk through the actual steps to tap a 1/4-20 hole the right way.
Step 1: Mark And Center-punch
- Mark the hole location with a fine marker or scribe.
- Use a center punch to make a small dimple. This keeps the drill bit from wandering.
Step 2: Drill The Hole
- Clamp your workpiece securely.
- Use the #7 drill bit (or 0.201″ / 5.1mm).
- Drill straight, keeping the bit perpendicular to the surface.
- For deep holes, back the bit out to clear chips.
Step 3: Deburr The Hole
- Use a countersink or deburring tool to clean the hole’s edge. This helps the tap start straight and makes threads cleaner.
Step 4: Apply Cutting Fluid
- Add a drop or two of cutting fluid to the hole and the tap.
Step 5: Tap The Hole
- Insert the tap into the hole with a T-handle.
- Keep the tap perfectly vertical.
- Turn slowly, applying even pressure.
- Every quarter turn, reverse the tap slightly to break chips.
- Don’t force it—if it feels stuck, back out and clear chips.
- For blind holes, stop before hitting the bottom, unless using a bottoming tap.
Step 6: Clean And Inspect
- Remove the tap, clean the hole with compressed air or a brush.
- Test with a 1/4-20 screw or bolt to ensure smooth threading.
What If You Don’t Have A 7 Drill Bit?
Sometimes, you may not have a #7 drill bit available. What can you do?
- Closest Metric: 5.0mm is very close to #7 (only 0.004” smaller). It’s safe to use, but tapping may be a bit harder. Use extra cutting fluid and go slow.
- 13/64” Bit: Slightly larger than #7. This will work for low-stress applications, but threads will be a little weaker.
Here’s a comparison:
| Drill Bit | Size (Inches) | Size (mm) | Thread Strength | Ease of Tapping |
|---|---|---|---|---|
| #7 | 0.201 | 5.1 | Best | Standard |
| 5.0mm | 0.197 | 5.0 | Very Strong | Harder |
| 13/64″ | 0.203 | 5.16 | Weaker | Easier |
If possible, always use the #7 bit, but knowing your options helps in a pinch.
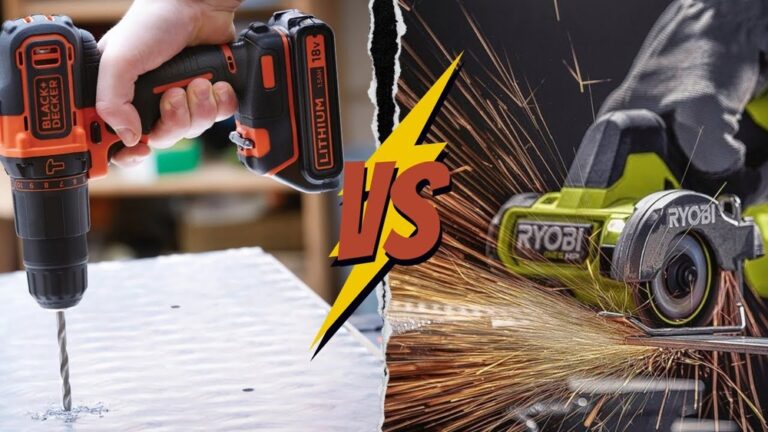
Material Matters: How Drill Bit Choice Changes By Material
Not all materials behave the same when tapped. The recommended size works for most metals, but sometimes you need to adjust:
- Hard Metals (Steel, Stainless): Always use the standard #7. Tapping is tough, so don’t go smaller.
- Soft Metals (Aluminum, Brass): You can use a slightly larger bit (like 13/64″) for easier tapping, but only if thread strength is not critical.
- Plastics: Often benefit from a slightly smaller hole for tighter threads. Test on a scrap piece first.
Pro tip: If your threads strip easily or tapping is extremely difficult, reconsider your drill bit size or material choice.
Credit: www.homedepot.com
Common Mistakes To Avoid
Tapping holes is a simple process, but several mistakes can ruin your work.
- Using the Wrong Drill Bit Size: Even a small error weakens threads or breaks taps.
- Skipping Cutting Fluid: This leads to rough threads and broken tools.
- Tapping Too Fast: Speed causes overheating and jamming.
- Not Clearing Chips: Chips can jam the tap and strip threads. Back out the tap often.
- Misaligning the Tap: Crooked taps create angled threads, and the bolt won’t sit straight.
- Forcing the Tap: If it won’t turn, don’t force it. Remove, clean, and try again.
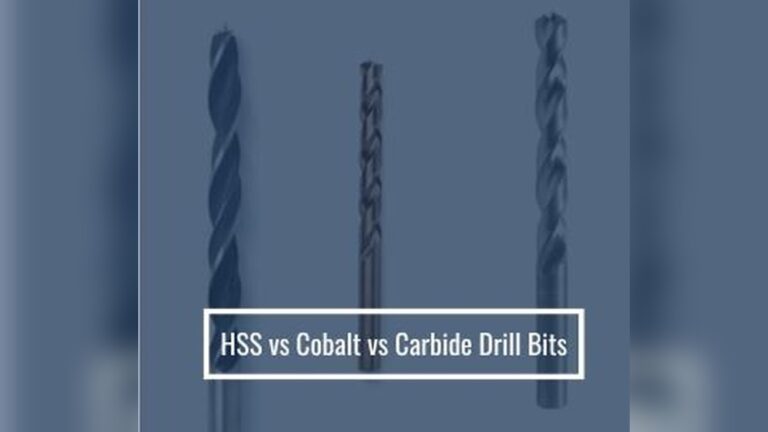
Drill Bit Quality And Types
Not all drill bits are equal. The material and design of your bit affect hole quality and tap life.
High-speed Steel (hss)
- Best for: Most metals, wood, plastics.
- Affordable and durable.
Cobalt Or Carbide Bits
- Best for: Stainless steel or hard metals.
- Longer life, but more expensive.
Brad-point Bits
- Best for: Wood. The point keeps the bit from wandering.
- Not ideal for metal.
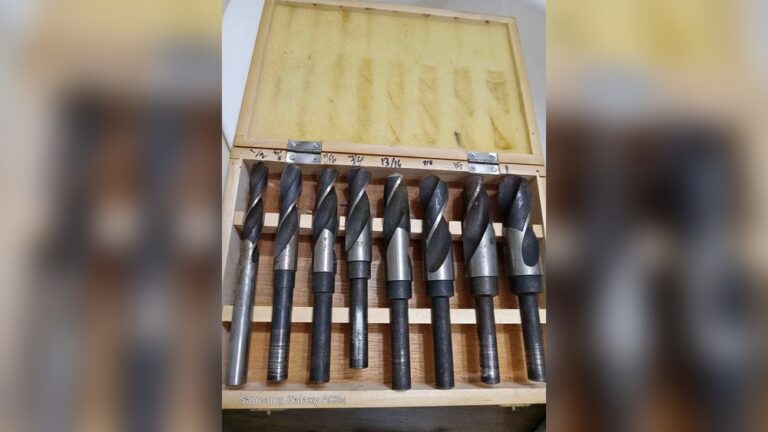
Twist Drills
- Best for: General use in metal and plastics.
Pro tip: Dull bits wander and make oversize holes. Sharpen or replace dull bits for best results.
Thread Engagement: Why It Matters
When tapping, you want most of the bolt’s threads to grip the material. This is called thread engagement. For strong joints, aim for 65–75% engagement. Too little, and the threads are weak; too much, and tapping is difficult.
The #7 bit gives about 75% engagement in steel—a perfect balance of strength and ease.
Interesting fact: In critical engineering applications (like aerospace), engineers may use a slightly larger drill to reduce thread engagement for easier assembly, but always stay above 50% engagement for safety.
Real-world Example: Tapping A 1/4-20 Hole In Steel
Imagine you’re building a metal frame and need to tap 1/4-20 holes for bolts.
- Mark and punch your holes.
- Drill with a #7 HSS bit.
- Deburr and lubricate.
- Use a T-handle with a taper tap, then finish with a plug tap.
- Clean and test with a bolt.
If you follow these steps, you’ll have strong, reliable threads that hold up under vibration and load.
What About Thread Forming Taps?
There’s a second type of tap called a thread forming tap (or roll tap). Instead of cutting threads, it forms them by pushing material aside.
- Requires a slightly larger hole size than a cutting tap.
- Gives stronger threads in soft metals (like aluminum).
- Needs lubricant.
If you use a forming tap for a 1/4-20 thread, the recommended drill size is #1 (0.228″), much larger than for a cutting tap. Always check the tap manufacturer’s chart.
Understanding Tap And Drill Sizing Systems
Tap and drill sizes are given in several ways:
- Numbered Sizes (#7, #1, etc. ): Most common in the US.
- Fractional Sizes (1/4″, 13/64″, etc. ): Easier to find, but less precise.
- Metric Sizes (5.0mm, 5.1mm, etc. ): Used worldwide, sometimes as substitutes.
Here’s a quick guide:
| Drill Bit System | Example for 1/4-20 Tap | Notes |
|---|---|---|
| Numbered | #7 | Most precise, best fit |
| Fractional | 13/64″ | Slightly loose |
| Metric | 5.1mm | Exact match |
When in doubt, use a drill bit chart or online calculator, or check a trusted source like Wikipedia.
Safety Tips For Drilling And Tapping
Working with metal and power tools can be dangerous if you’re not careful. Here are a few safety basics:
- Wear safety glasses to protect against metal chips.
- Clamp your workpiece securely before drilling or tapping.
- Go slow—rushing leads to mistakes and injuries.
- Don’t use excessive force; let the tool do the work.
Frequently Asked Questions

Credit: drillsandcutters.com
What Happens If I Use The Wrong Drill Bit Size For A 1/4-20 Tap?
Using the wrong size can have two outcomes: If the hole is too small, tapping becomes very hard and you risk breaking the tap. If the hole is too large, the threads won’t grip well, and your bolt might strip out under load. Always use a #7 (0.201″) drill bit for best results.
Can I Use A Metric Drill Bit For A 1/4-20 Tap?
Yes, you can use a 5.1mm drill bit, which matches #7 very closely. A 5.0mm bit is slightly smaller and will make tapping harder but gives stronger threads. For most projects, 5.1mm is the best metric substitute.
What Type Of Tap Should I Use For A Blind Hole With A 1/4-20 Tap?
Start with a taper tap to begin the threads, then use a bottoming tap to finish the threads all the way to the bottom of the hole. This ensures strong threads and makes tapping much easier.
Why Do I Need Cutting Fluid When Tapping A Hole?
Cutting fluid reduces friction, cools the tap, and helps clear metal chips. This makes threading smoother and extends the life of your tools. Tapping dry can damage both the tap and the material.
Is It Safe To Use A Hand Drill For Tapping Threads?
It’s not recommended. Hand drills spin too fast and make it hard to keep the tap straight. Always use a tap wrench or T-handle to tap threads by hand. This gives you better control and reduces the risk of breaking the tap.
Choosing the right drill bit for a 1/4-20 tap is a small detail that makes a big difference. With the right tools, materials, and knowledge, you’ll get strong, reliable threads every time. Take your time, follow the steps, and don’t skip the essentials—even a simple drop of oil or a careful alignment makes tapping easier and safer.
When in doubt, check a trusted chart or source for confirmation. Small habits like these separate professional-quality work from problems down the line.